
In a previous post I explained why learning to parry is a game changer and suggested a run with the Bandit starter class to practice it. Well, I took my own advice…
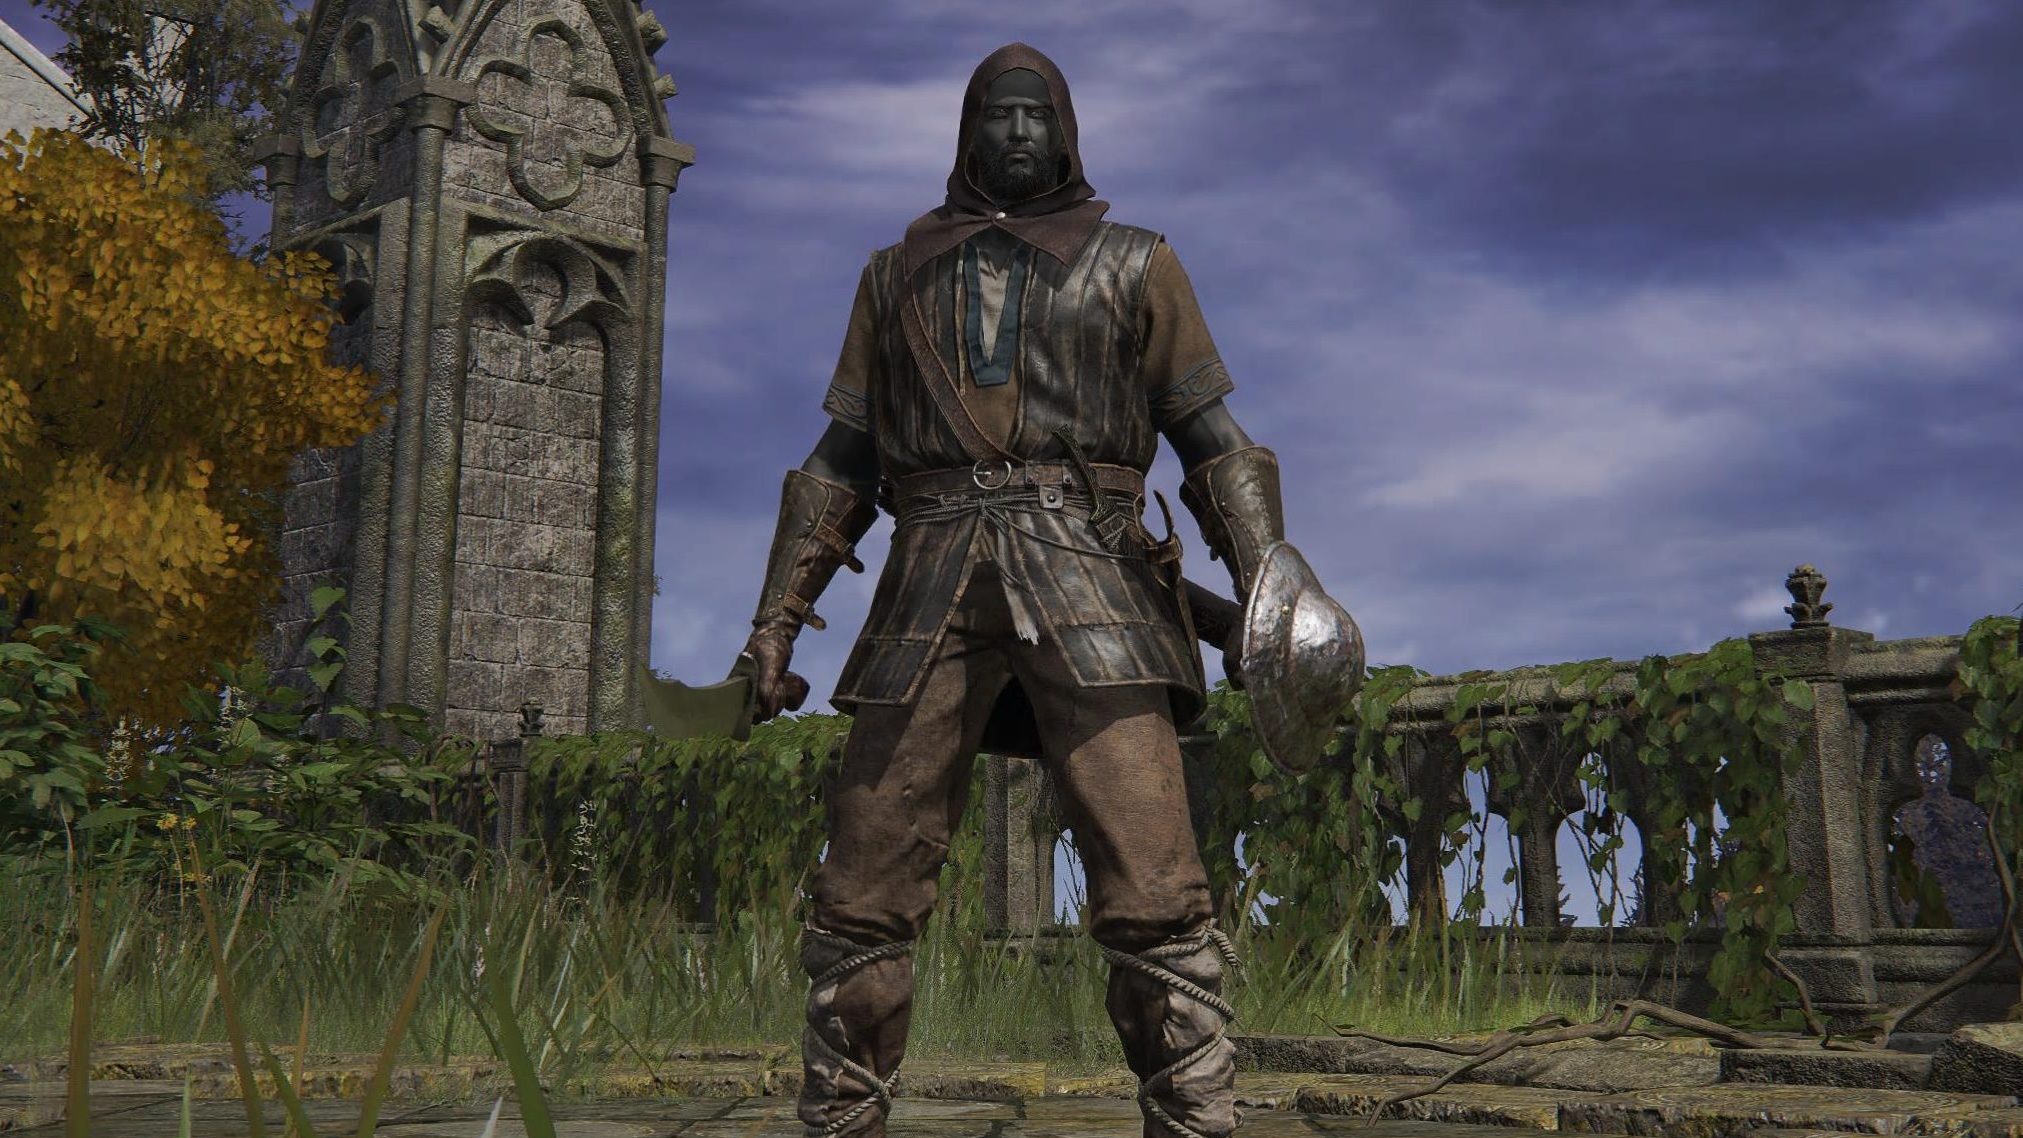
The recipe from that post: roll a fresh Bandit, Buckler in hand, Great Knife on the hip, cash in some early runes (sleeping Elder Dragon Greyoll, Night’s Cavalry bridge cheese in Dragonbarrow) and pump everything into Vigor until you’re sitting at around 40. Writing that planted an idea in my head: why not run it myself? So I did – and oh boy, what fun it was. At least most of the time.
The Setup Phase
One initial question needed answering right at the start: Would this be a “purist’s run”, sticking strictly to the Bandit starter gear? Or would I allow myself some adjustments? I went with the latter, under two self-imposed rules: stay within the Dagger weapon class, and keep the overall Bandit look even if the armor changes.
As I’m not a speedrunner (and never will be), I usually take my time setting up a character: collecting a fair amount of Sacred Tears and Golden Seeds, plus some Bell Bearings, Talismans and Crystal Tears.
By the time I jumped into some real action, I had a +12 Great Knife with Bloody Slash (courtesy of the Knight in Fort Haight) and a +6 Reduvia in the off-hand for painting the Lands Between red. That said, the focus remained on parrying whatever can be parried first – 40 Vigor gives you plenty of wiggle room to fail timings and actually learn.
Early- and Mid-Game Bosses
Margit was fun to parry, and Godrick, the Grafted perished quickly under heavy L2 spamming of Bloody Slash. Rennala, Queen of the Full Moon didn’t enjoy the bloody Great Knife either and wasn’t much of a match. Even Radahn, once distracted by the summonable helpers, got slashed into retirement without much drama – so far, so good.
Turns out the Draconic Tree Sentinel in front of Leyndell is rather painful if you don’t cheese him into the abyss after a single parry. With a dagger dealing around 140 damage against a guy with roughly 13K HP, the fight turns into a marathon. Yes, he can be parried, but you’ll spend a lot of time doing it and can’t afford to miss too many timings. Constantly switching to two-handing the Great Knife after a parry, just to squeeze out a stronger L2 (around 750 in my case), was too fiddly for me. So I kept Reduvia in the off-hand and beat him with plain L1 and L2 attacks from the Great Knife. Learning his parry timings still paid off, though: next time I face him with a proper weapon, parrying is a solid option.
I then took a detour to Nokron for the Black Whetblade and altered Bloody Slash from Blood to Occult affinity – that pushed the damage past one thousand, as I was sitting at around 24 Arcane at the time.
Godfrey, First Elden Lord (Golden Shade) was the next L2 victim on the list, since you can’t parry him. Morgott, the Omen King, on the other hand, can be parried – but needs three successful parries before his stance breaks and a riposte opens up. I switched to a +12 Misericorde (snatched earlier in Stormveil Castle) for better critical damage and set out to learn his timings. It took a while, but I got him in the end – with the Great Knife waiting in the off-hand for a Bloody Slash whenever the opportunity arose.
Changing the Outfit and Improving the Talisman Setup
The plan was to stay reasonably close to the Bandit theme, as you surely remember. Combined with the goal of hitting that 51 poise breakpoint, I farmed the Vulgar Militia Armor in Dragonbarrow and paired it with Lionel’s Gauntlets and Greaves. For the head piece I had to break theme and grab the White Mask to max out the blood build – it raises attack power by 10% for 20 seconds whenever blood loss occurs in the vicinity. That meant running the Varré quest first to reach Mohgwyn Palace and hunt down the Nameless White Mask invaders.
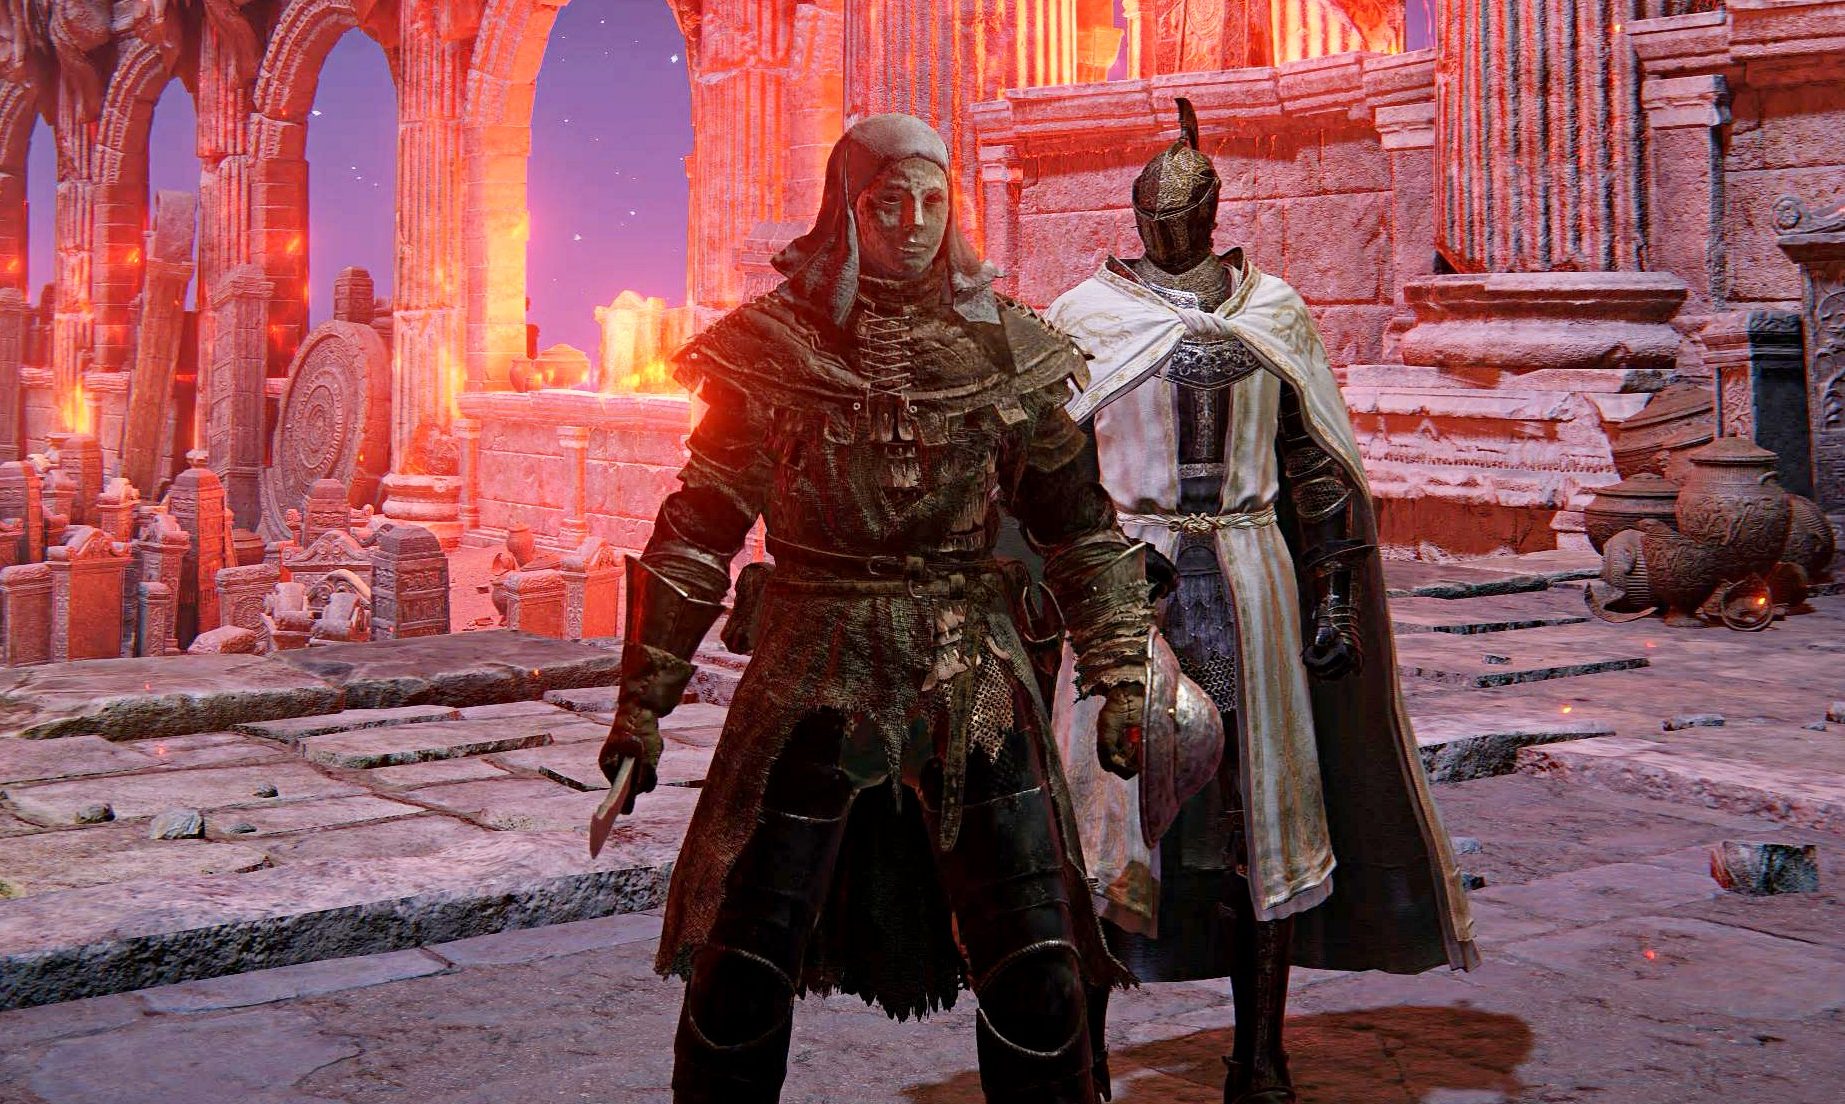
For the talisman slots I went with:
- Warrior Jar Shard: boosts the attack power of skills by 10% – which covers Bloody Slash
- Lord of Blood’s Exultation: raises attack power by 20% for 20 seconds when blood loss occurs in the vicinity
- Winged Sword Insignia: increases attack power with successive attacks by 3%, 5% and then 10%
- Millicent’s Prosthesis: raises attack power with successive attacks by 4%, 6% and then 11%
With the Occult Great Knife in the main hand and Reduvia in the off-hand, this creates a proper bleed festival. It also lets you fire off Bloody Slash with the Warrior Jar Shard bonus behind it – the way to go whenever a boss simply cannot be parried.
The Mountaintops Masacre
Alright, that headline lays it on a little thick, because Commander Niall took me some time to get the parries right. But let me tell you: it’s genuinely rewarding to discover just how many of his attacks can actually be parried. Each of the two Banished Knight spirits needs two Bloody Slashes to put down, and then you can focus on Niall alone. Learn those parry timings, and whenever he does the charged Whirlwind Dash that leaves him exposed for a good while afterwards, squeeze in a flurry of fast R1s with the Great Knife for a bleed proc. Dodge, parry, riposte – that’s the mantra for this fight.
The big man on the mountain (aka the Fire Giant) was surprisingly easy and fell on my first try to dual daggers and relentless L1 spam. Even in phase two the daggers kept up a solid amount of (bleed) damage – a nice surprise.
After the Fire Giant I was sitting at level 97 with the following stat distribution:
| Vigor: 54 | Mind: 11 |
| Endurance: 18 | Strength: 9 |
| Dexterity: 19 | Intelligence: 9 |
| Faith: 12 | Arcane: 44 |
Entering the Late Game
I have to admit I didn’t try to parry most of the late-game bosses – either because you can’t, or because I didn’t know you could. But let’s take this one step at a time.
For the Draconic Tree Sentinel in Farum Azula I went with the Great Knife in the main hand and Reduvia in the off-hand. This proven combination procs bleed so fast that I didn’t even bother working on parry timings – I simply melted him away.
Beast Clergyman/Maliketh, the Black Blade has substantial physical absorption across all damage types and is rather resistant to bleed. It took me a try or two with a lot of dodging, but in the end the two daggers did their job. Once again I had to concede that Bloody Slash performs decently even on a small weapon – bigger weapons will always outclass its damage, though.
Here’s the part where I make a mistake so you don’t have to: the Beast Clergyman cannot be parried, but once he transforms into Maliketh, you can parry his death attacks using the Blasphemous Claw. Landing that parry stuns him temporarily and opens up a big attack window. I only learned this after the fight was over. Next time either of us faces Maliketh – keep it in mind.
The End Game Awaits
Sir Gideon Ofnir is parryable, but instead of a traditional parry shield you’d want the Carian Retaliation Ash of War or the Erdtree Greatshield. Honestly though, aim to beat him on the first attempt: his opening monologue is your window. Unload a series of L1 dagger attacks while he’s still talking and melt his health bar before he even lifts a finger. Stay aggressive, stagger him to interrupt his casts, and resist the urge to back off and heal. Do it right and he’s down before the fight really starts.
Godfrey, First Elden Lord / Hoarah Loux, Warrior is quite resistant to bleed. He also cannot be parried, so the two-daggers approach is the one to go for. Once again I basically had to rely on L1 and L2 attacks to drain his health bar. Luckily he has some slow animations where you can squeeze in combos – just don’t mash the buttons, or you’ll miss the moment to dodge.
When he becomes Hoarah Loux, the most critical mechanic is learning to dodge into and through his command grabs. He leaves a brief window for a counter-attack after a missed grab – exploit it. I’d advise staying on his left side to force him to keep turning, and managing your distance when he roars to avoid the sweeping shockwave attacks.
Unfortunately, this bleed-centered build hit a wall in the final gauntlet: Radagon of the Golden Order and the Elden Beast (Radabeast, as the community likes to call the double feature) are both immune to bleed – damn! That really tanks the DPS of the two daggers, and after some frustrating attempts where the Elden Beast just refused to die, I was thinking hard about re-speccing. First, though, I tried to learn the parry timings on Radagon. He needs three parries to stagger, and while I was clearly improving with every attempt, I eventually decided it would simply take too long.
The Faithful Radabeast Alternative
In my post “I Put My Faith Into Two Bandit’s Curved Swords” I explained a Flame Art build that runs Faith as the main stat. Re-speccing into something similar after grabbing the Erdsteel Dagger promised a viable way out – one that leans into raw DPS.
Unlike most weapons, the Erdsteel Dagger has a unique quirk: give it a Faith-scaling infusion and both its elemental damage and its physical damage scale with Faith, essentially doubling the value of every attribute point.
The loadout: Erdsteel Dagger (picked up very early in Limgrave via Kenneth Haight’s questline), pushed into pure Faith scaling with a Flame Art infusion and Flaming Strike as the Ash of War. Stats go mainly into Faith and Vigor – just don’t neglect Endurance completely.
The talismans and buffs: Because a dagger’s charged R2 animation is incredibly swift, this build revolves around charged heavy attacks backed by multi-hit buffs. The Axe Talisman boosts charged heavy attack damage, the Fire Scorpion Charm raises fire damage by 12% at the cost of taking 10% more physical damage, and the trusty duo of Millicent’s Prosthesis and Winged Sword Insignia rewards the rapid follow-up hits. Right before crossing a boss fog gate, stack Golden Vow and Howl of Shabriri for a hefty multiplicative damage increase. In the Wondrous Physick, the Spiked Cracked Tear boosts consecutive charged heavies while the Flame-Shrouded Cracked Tear adds 20% fire damage for three minutes.
The strategy: Buff up, coat the blade with your Ash of War, then exploit even the tiniest opening windows to land fully charged heavy attacks. Since the dagger recovers almost instantly compared to colossal weapons, you can safely spam charged R2s for immense burst damage and unexpectedly high DPS.
One more advantage, as covered in the other article: against fire-resistant bosses you can swap the whole Flame Art package for its Sacred counterpart – Sacred Blade, Sacred Scorpion Charm and the Holy-Shrouded Cracked Tear. I should really consider doing a full Erdsteel Dagger run with this setup – even though it’s admittedly quite close to the Bandit’s Curved Swords run.
Conclusion
The run was a lot of fun, and the DLC is still waiting to be conquered – I’ll tell you how that went in another post. Did I become a parry god? Well, no – not after a single run. But my parry skills have clearly leveled up, and I look at fights from a slightly different angle now.
I’m still trying to understand why I avoided learning to parry for over two years. Maybe the timing never clicked, so I never trusted it – and without trust, I never truly committed. Well, as they say: it’s all in your head.
Am I still a little annoyed at myself for re-speccing at the very end? Sure. But that’s the beauty of Elden Ring: when you’re stuck on a fight, the game always offers you another path. No need to give up when you can adapt – and isn’t that exactly why we all love this game?
Leave a Reply