
The part of Caelid where even Caelid is scared of itself!
You made it. You’ve survived the Swamp, outwitted Sellia’s sorcerers, and watched Radahn crater into the Wailing Dunes like a blazing comet. You’ve done Caelid. Pat yourself on the back.
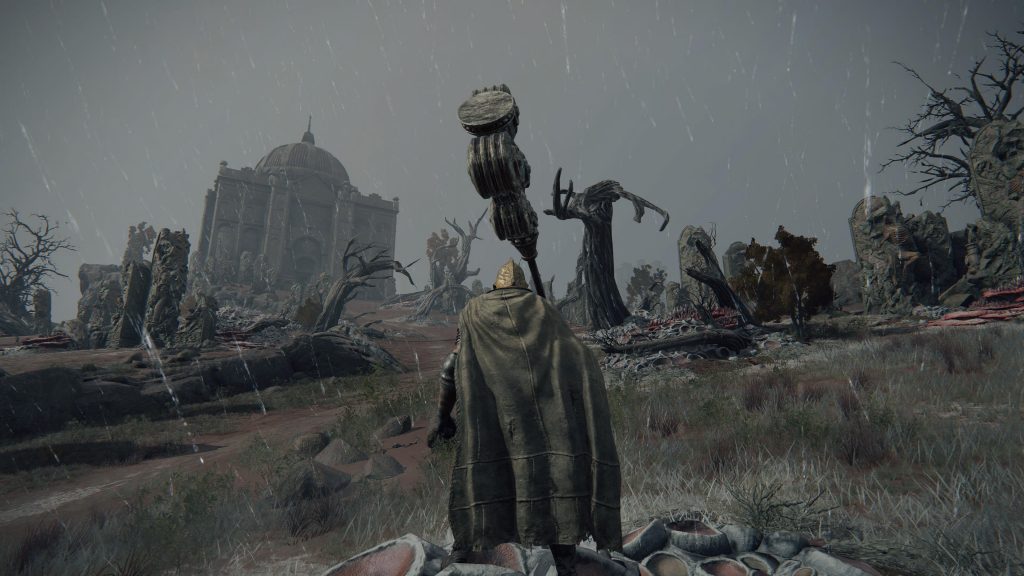
Now forget all of that, because we’re heading north into the Dragonbarrow, where the difficulty curve that felt manageable in the south becomes something considerably less polite up here. This is the final part of our Caelid series, and it’s where the region stops pretending it’s welcoming and just commits entirely to trying to kill you.
Dragonbarrow vs. Southern Caelid: Know the Difference
Same rot, different postcode, wildly different attitude
Dragonbarrow sits above southern Caelid as a separate sub-region, and the distinction matters. The recommended level for Dragonbarrow sits around 80 to 90 and that’s a significant step up from the 60-70 range of the southern areas. Enemies hit harder, have more health, and patrol in patterns that punish impatience.
What makes Dragonbarrow interesting, though, is that it’s technically accessible early in the game via a shortcut from Limgrave. Confident (or reckless) players can arrive here wildly underleveled and either get humiliated or pick up items they absolutely shouldn’t have yet. There’s a waygate behind the Third Church of Marika in Limgrave that teleports you directly to the Bestial Sanctum in the northeast of Dragonbarrow, bypassing the entire Caelid approach. It’s a gift and a trap in equal measure.
Getting In: The Farum Greatbridge
The natural overland approach from southern Caelid follows the road north past the swamp and into the Dragonbarrow proper. The Farum Greatbridge Site of Grace is a useful central staging point for the northern half of the region, sitting at the bridge just south of the Bestial Sanctum. Get this grace lit before exploring – you’ll want it.
Flying Dragon Greyll
You can’t miss this one! Greyll patrols the Farum Greatbridge and will make its presence known the moment you try to cross. It’s a stronger version of Flying Dragon Agheel with an identical moveset, though the narrow bridge gives you far less room to manoeuvre than the open arena Agheel prefers. Thrust damage is its main weakness, so spears, rapiers, and anything with a piercing Ash of War will serve you well. Defeating Greyll yields 80,000 Runes and Dragon Hearts – the latter exchangeable at the Cathedral of Dragon Communion for incantations. Alternatively, you can simply ride past it on Torrent and deal with it later when you’re better equipped. Greyll isn’t going anywhere.
Black Blade Kindred
Make it across the bridge and a second problem introduces itself. Sitting directly on the steps of the Bestial Sanctum at the far end is the Black Blade Kindred – a winged gargoyle boss that serves as Dragonbarrow’s most aggressive welcome mat. It guards the stairs of the Sanctum and will strike any Tarnished that approaches.
Here’s the thing: you don’t have to fight it. You can circle around the boss and sneak near the wall to reach the door of the Bestial Sanctum without engaging it directly. That said, if you’re at the right level and want the rewards, it’s worth the fight. Defeating the Black Blade Kindred in Dragonbarrow drops 88,000 Runes, the Gargoyle’s Black Halberd, and the Gargoyle’s Blackblade. It’s weak to Strike damage, so blunt weapons and strike-based Ashes of War are your friend here.
The Bestial Sanctum and Gurranq
The world’s most aggressive librarian
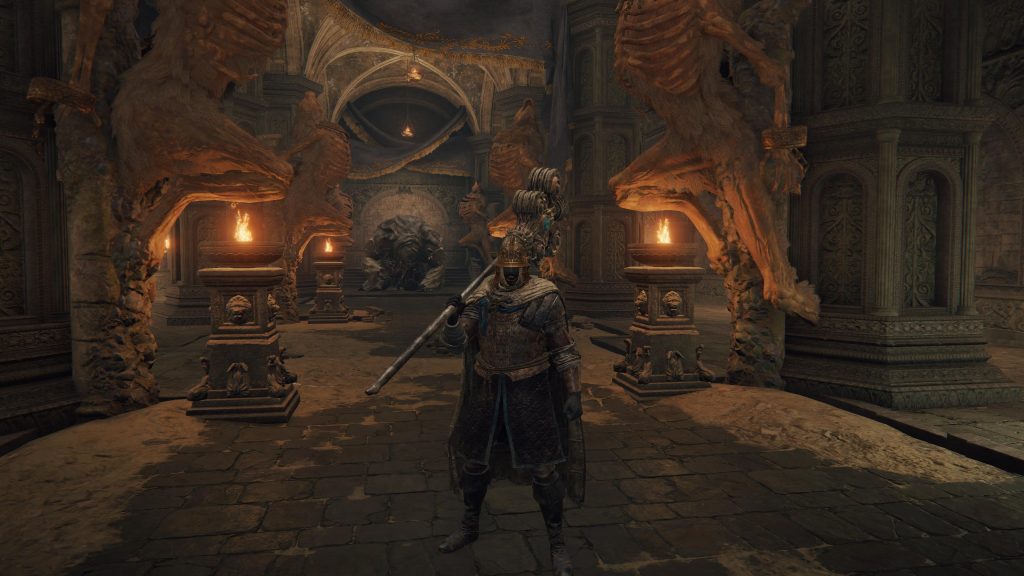
Inside the Bestial Sanctum you’ll find a Site of Grace and, at the back of the hall, Gurranq, the Beast Clergyman. He’s a large, hunched creature who lives in isolation here, consumed by a constant hunger for Deathroot. He will reward you generously for feeding that habit.
How the Questline Works
Gurranq’s questline requires you to bring him Deathroot – key items found primarily by defeating Tibia Mariners and completing specific Catacombs across the Lands Between. He hands out rewards for each one you deliver, along with the Beast Eye, an item that pulses whenever you’re in a location where Deathroot can be found. There are nine Deathroots in total scattered throughout the Lands Between.
The rewards scale up as you deliver more: the first Deathroot earns the Clawmark Seal – a Sacred Seal that lets incantations scale with Strength and Faith. The second gives the Bestial Sling incantation, which fires a spray of stones. The third delivers Bestial Vitality, a low-cost healing spell that gradually restores HP. The fourth grants the Beast’s Roar Ash of War.
There’s a catch with the fourth. After receiving it, Gurranq breaks into a frenzy and attacks you. To calm him down, you need to reduce his HP enough for him to snap out of it and he’ll then return to normal. Don’t panic, and don’t kill him, as it locks you out of the rest of the questline until New Game Plus.
The fifth Deathroot yields the Beast Claw incantation. The sixth gives the Stone of Gurranq – a single massive projectile that deals heavy damage. The seventh rewards the Beastclaw Greathammer, an excellent Strength weapon. The eighth delivers Gurranq’s Beast Claw, a powerful AoE incantation that fires in all directions.
Even if you only have one or two Deathroots at this stage, the Clawmark Seal and the early incantations are well worth the visit.
Fort Faroth and Elder Dragon Greyoll
The most morally questionable rune farm in the game
East of the Farum Greatbridge, following the road south through the Dragonbarrow, you’ll eventually arrive at Fort Faroth and you’ll notice something enormous lying on the hillside nearby. That’s Elder Dragon Greyoll, and she is exactly as large as she looks.
Found in Greyoll’s Dragonbarrow near Fort Faroth, Elder Dragon Greyoll has been so thoroughly consumed by Scarlet Rot that she can no longer move. She is surrounded by five smaller dragons who protect her, and she’ll call to them when attacked. However, if you position yourself correctly, they can’t actually reach you.
The Rune Farm
This is one of the most well-known exploits in all of Elden Ring, and it works beautifully. Start from the Fort Faroth Site of Grace and position yourself behind Greyoll, near the grace. From here, you can attack her tail freely – the smaller dragons cannot reach you so long as you stay behind her body.
A bleed weapon is the key to making this efficient. Build up Hemorrhage on Greyoll’s tail repeatedly, and once her HP bar reaches zero, immediately sprint back to the Fort Faroth Site of Grace and rest. If you reach the grace before the death animation fully completes, Greyoll won’t despawn permanently and you can repeat the process.
Defeating Greyoll rewards 50,000 Runes outright, plus an additional 3,470 Runes for each of the five surrounding dragons – totalling around 67,350 Runes per run. With the Gold Scarab Talisman equipped, that figure rises to approximately 80,820. At any point in the early-to-mid game, that’s a staggering amount of runes.
Fort Faroth Itself
The fort is worth exploring beyond the dragon outside. Inside you’ll find the Dectus Medallion (Right) – one half of the key item needed to activate the Grand Lift of Dectus and access the Altus Plateau – as well as Radagon’s Soreseal Talisman, which boosts Vigor, Endurance, Strength, and Dexterity by five each at the cost of increased damage taken. Both are significant finds.
Other Locations Worth Your Time
Lenne’s Rise
Northeast of Fort Faroth, Lenne’s Rise is a tower that contains a Memory Stone at the top, which permanently increases your memory slots for sorceries and incantations. Reaching the interior requires using the nearby Spiritspring to launch onto the roof of the easternmost building, then accessing the open balcony from above.
Abandoned Cave & The Gold Scarab
Remember the Gold Scarab Talisman referenced in the Greyoll farming section? This is where you get it. The Gold Scarab increases Rune acquisition by 20% and that effect stacks with a Gold-Pickled Fowl Foot consumable for a combined total of 56%. That combination is what makes the Greyoll farm genuinely broken.
The Abandoned Cave is accessed by heading west from Fort Faroth toward the ravine cutting through Caelid, then crossing it via a tree root. The cave interior is flooded with Scarlet Rot, so stock up on Preserving Boluses before entering or speedrun straight to the fog gate if you’d rather not linger. The boss duo, a Cleanrot Knight (Sickle) and Cleanrot Knight (Spear), drops the Gold Scarab on defeat. Focus one at a time (and use a tanky Spirit Ash to keep the other occupied).
Putrid Avatar (Minor Erdtree)
The Dragonbarrow’s Minor Erdtree sits on the eastern cliffs, along the road leading up to the Bestial Sanctum. Its guardian is a Putrid Avatar – and the Dragonbarrow version is notably stronger than every other Putrid Avatar in the game, including the one in the Haligtree. That’s FromSoftware’s way of reminding you where you are.
Unlike the standard Erdtree Avatar, this variant inflicts Scarlet Rot, which makes its butt-slam attack in particular something you want to dodge properly rather than just tank through. Roll behind it as it slams, get your hits in, and back off. Defeating it drops the Stonebarb Cracked Tear and the Opaline Hardtear, both useful Crystal Tears for your Wondrous Physick flask.
Divine Tower of Caelid
If you defeated Radahn in Part 2 and haven’t activated his Great Rune yet, the Divine Tower of Caelid is your next stop. From the Dragonbarrow West Site of Grace, head east along the road until you reach a spring with two dragons, then turn north and follow the ramp up toward the tower. Activating the brand at the top restores Radahn’s Great Rune, which boosts your maximum HP, FP, and Stamina when triggered with a Rune Arc – one of the stronger Great Runes in the game.
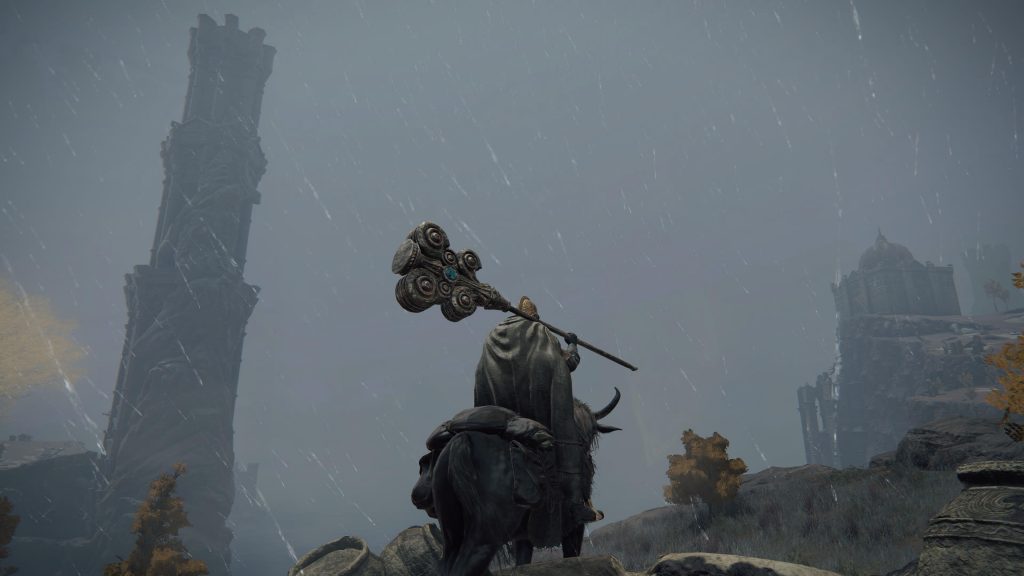
The real reason to mention the Devine Tower here, though, is what’s waiting on the way up and at the bottom. Just before the tower entrance, there’s a Teardrop Scarab perched on a dead branch that drops a Somber Smithing Stone (8) – be warned it explodes on death, so roll away as it goes down. Then, at the base of the tower, you’ll find a group of corpses arranged in a circle of chairs and the one in the centre holds a Somber Smithing Stone (9).
That’s a (8) and a (9) within thirty seconds of each other, both available well before most players would naturally farm them. For anyone running a special or unique armament, these two stones alone make the detour essential.
Godskin Apostle
There’s more to the Divine Tower than the Smithing Stones at its base and Radahn’s Great Rune at the top. Deep beneath the tower, at the bottom of a series of descending drops and an elevator, the Godskin Apostle waits. He wields a twinblade and uses Black Flame incantations. At medium distance he’ll punish healing attempts with a Black Flame orb, so wait for him to commit to an attack before using your flask.
When his HP drops to around half, he stretches his body vertically. Counterintuitively, this is your best window to go aggressive. Staying close and attacking his legs exploits a large blindspot directly in front of him, letting you deal free damage until the animation ends. It’s one of those FromSoftware moments where running away is the wrong instinct. He’s weak to Bleed, so a weapon with Hemorrhage buildup can cut the fight significantly short.
Defeating him rewards the full Godskin Apostle armour set, and the room behind him contains a chest holding the Godslayer’s Greatsword – a Colossal Sword with strong Holy damage scaling. Not an easy fight at Dragonbarrow’s level range, but the loot makes it one of the tower’s best-kept secrets.
Dragonbarrow Cave
Found along the cliffside northeast of the Dragonbarrow Fork Site of Grace, this cave holds the Bull-Goat’s Talisman and is home to a dual boss fight against two Beastmen of Farum Azula. The cave’s main hazard is a roaming Runebear that patrols the central chamber, which has an enormous health pool, hits brutally hard, and drops nothing of value on death. Sneak past it. Your pride isn’t worth it.
What Caelid Is Really Saying
The rot runs deeper than the soil
Step back from the bosses and the farming spots for a moment, and Caelid tells a remarkably coherent story of consequence. Every grotesque detail – the crimson sky, the petrified soldiers, the immovable dragon rotting on a hillside – is the direct result of one moment: Malenia’s Scarlet Aeonia bloom.
Gurranq himself carries another thread of this history. His former name, in a time before his transformation, reportedly meant “Death of the Demigods” – a creature of such ferocity that even demigods feared what he represented. He now spends his existence isolated in a ruined sanctum, feeding compulsively on Deathroot in an attempt to suppress the death energy consuming him. The rot doesn’t just affect the land, it hollows out everything it touches, even the powerful.
Radahn, meanwhile, sits at the centre of it all: brilliant enough to master gravitational magic, strong enough to keep the stars themselves from moving, and brought low not in a fair fight but by a pathogen his enemy herself could barely control. His story is less a defeat and more a tragedy – and the Dragonbarrow, looming over his domain like a bruise, is the permanent record of it.
That’s Caelid. Beautiful in its horror, coherent in its devastation, and absolutely not sorry about any of it.
Stay tuned for more deep dives into the regions of the Lands Between — and if you missed them, Parts 1 and 2 of this Caelid series are waiting for you.
Leave a Reply