Greetings, brave Tarnished! Welcome to another Elden Ring build post. This time, we’re diving into a Strength and Faith combination, born from the desire to explore new horizons. I’ve seldom ventured into the realm of piercing weapons, and for good reason: they lack vertical strikes, offering mostly thrusts, stabs and jabs – you get the idea.
The DLC introduces two new heavy thrusting swords: The Sword Lance and Queelign’s Greatsword. As a fan of dual-wielding, I couldn’t resist wielding both – no choice required. Yet, this setup also allows the flexibility to switch to two-handing either weapon when the situation calls for it.
This combination excels at aggressive play, utilizing the long reach and powerful thrusting attacks of both weapons. The ability to switch between pure physical and fire damage allows for adaptation to different enemy resistances. The playstyle is particularly effective if you enjoy a mix of close-quarters combat and mid-range pokes, with the option to incorporate faith-based abilities for additional versatility.
There’s a slight catch – this is a level 185 build. However, considering the exploration required in the Realm of Shadow to acquire these weapons, you’re likely to be approaching this level by the time you’ve collected all the necessary items.
Can’t wait to see the build? Luckily, I’ve got you covered. For those who want to skip the scenic route, there’s a “Build Distilled” section right after “Attribute Distribution”. It’s your express ticket to the good stuff at a glance. But remember, by rushing ahead, you’ll miss out on some fun tidbits and hard-earned wisdom. Your call, intrepid explorer – scroll wisely!
Equipment
In this chapter, we’ll dive into the nuts and bolts of our build – the Equipment. Here, we’ll explore every piece of gear that makes this build tick, from the weapons that’ll strike fear into your foes to the armor that’ll keep you standing tall. Get ready to gear up and become a force to be reckoned with in the Lands Between!
Weapons
Main hand: Sword Lance
Let’s look at some facts about the Sword Lance:
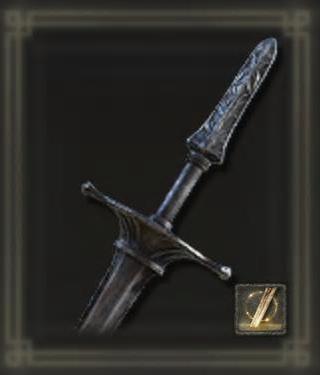
- The weapon can be obtained by exchanging the Remembrance of the Wild Boar Rider aka Commander Gaius with Enia at the Roundtable Hold and is a combination of a greatsword and a lance.
- The Sword Lance scales primarily with Strength and has lower scaling with Dexterity.
- It requires 21 Strength and 11 Dexterity to wield.
- The weapon’s default skill is “Spinning Gravity Thrust,” which uses gravitational power to lift the player into the air before charging forward with a drilling attack, but you can replace it by another Ash of War.
- You can infuse it with Ashes of War and temporarily enchanted with magic or consumables.
- The Sword Lance performs best when paired with a shield, particularly the Fingerprint Stone Shield for a defensive playstyle – but that’s not what we want to do.
- Its moveset combines elements from both Heavy Thrusting Swords and Lances, giving it a unique attack pattern, but does not have the feint attack.
- The weapon is upgradeable using Smithing Stones.
Ash of War
Piercing Fang (Main)
Piercing Fang allows you to perform a powerful horizontal thrust that completely bypasses enemy shields and guards.
- Skill Description: Piercing Fang is a skill where the player starts with their blade held horizontally before executing a powerful thrust.
- FP Cost: The skill costs 16 FP to use. It is not chargeable but can be parried.
- Effects:
- Piercing Fang is designed to overcome enemy shields. It ignores 100% of damage negation from blocks, making it highly effective against shield users.
- The stance damage varies depending on the weapon type, ranging from 24 for thrusting swords to 36 for greatswords, heavy thrusting swords, and great spears.
- Strategic Use:
- Piercing Fang is highly effective for punishing defensive playstyles and breaking through enemy guards. Its fast execution and ability to bypass blocks make it an excellent tool for applying pressure and creating openings in combat. The skill also has good range and tracking, allowing for precise strikes even against mobile targets.
- Affinity: Heavy or Sacred or Flame Art
Sacred Blade (Alternative)
I believe there aren’t many really good options for adding holy damage to the Sword Lance. However, since holy damage is considered to be one of the best damage types in the DLC, I wanted to provide you with a suitable option.
- Skill Description: Sacred Blade grants an armament’s attacks holy essence and fires a golden blade projectile. The weapon retains its holy essence for a while after the skill is used, providing additional holy damage.
- Affinity: It provides the Sacred affinity, which adds Holy damage and Faith scaling while decreasing physical damage and most damage negation.
- FP Cost: The skill costs 19 FP to use.
- Effectiveness: The skill is particularly effective against undead enemies, dealing extra damage and preventing reanimation. It is also boosted by items like the Shard of Alexander and Warrior Jar Shard.
- Usage Tips: The skill is slow to cast but provides a high degree of poise during the animation, making it reliable for casting without being staggered.
- Affinity: Sacred or Flame Art
Main hand, 2nd: Miséricorde
The main reasons we have the Miséricorde equipped are for the use of Endure and its high critical stat when performing backstabs.
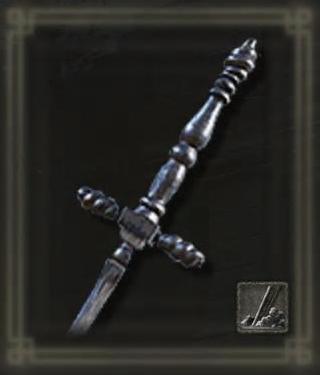
- Damage types: The Miséricorde deals Slash and Pierce type physical damage.
- Stat requirements: It requires 7 Strength and 12 Dexterity to wield.
- Scaling: It has E scaling with Strength and D scaling with Dexterity.
- Critical hit: The Miséricorde has the highest critical hit stat of all weapons in the game at 140, making it perfect for backstabs.
- Default skill: Its default Ash of War is Quickstep, which allows for a quick evasive maneuver, but we change it to Endure so that we can tank through enemy attacks.
- Affinity: Sacred or Flame Art
Ash of War
Another viable option would be an Ash of War like Unseen Form, which grants partial invisibility, allowing you to stealthily bypass enemies.
Endure
- Skill Description: Endure allows you to assume an anchored stance to brace for incoming attacks, briefly boosting poise and reducing damage taken.
- Affinity: It provides the Heavy affinity, which increases Strength scaling and reduces all other scaling types.
- FP Cost: The skill costs 9 FP to use.
- Effects:
- Provides a +45% damage negation to all damage types.
- Grants seemingly infinite poise during its duration, causing lighter weapons and attacks to bounce off.
- Duration: The effect lasts for 3.5 seconds.
- Strategic Use: Endure is useful for tanking hits and maintaining poise during combat, allowing players to withstand attacks without being staggered. It works well with talismans like the Ritual Shield Talisman and Dragon Greatshield Talisman, and with items that restore HP on hit or kill.
Off-hand: Queelign’s Greatsword
Here are some key details about Queelign’s Greatsword:

- You can obtain he weapon by using an Iris of Occultation on Queelign in the Prayer Room located in the Shadow Keep Church District, at the end of Fire Knight Queelign’s questline.
- It’s a “weighty piercing sword with a blade that undulates like fire”.
- The weapon scales with Strength, Dexterity, and Faith.
- It requires 14 Strength, 18 Dexterity, and 12 Faith to wield.
- The default weapon skill is “Impaling Thrust,” which allows you to pierce an enemy’s guard with a powerful thrust.
- It deals both physical and fire damage.
- The weapon can be infused with Ashes of War and temporarily enchanted with magic or consumables.
- Queelign’s Greatsword can be upgraded using Smithing Stones.
Ash of War
Flame Spear (Main)
- Skill Description: Get your weapon ready for a thrusting attack and unleash a spear of flame straight ahead. It can be charged to increase damage dealt and distance traveled.
- Affinity: It grants the Flame Art affinity to the weapon it’s applied to, adding fire damage and Faith scaling.
- FP Cost: Using the skill costs 19 FP.
- Additional Effect: After use, it ignites the weapon for 40 seconds, adding fire damage to subsequent attacks.
- Charging: The attack can be charged to increase its effectiveness, both in terms of damage and range.
- Build Synergy: It works well with Faith-based builds.
- Affinity: Flame Art
Blood Tax (Alternative)
The Blood Tax Ash of War is also an option you can use with the Sword Lance.
- Skill Description: Blood Tax allows you to build power, then unleash a flurry of thrusts that rob the target of both their blood and HP.
- Affinity: It grants the Blood affinity to the weapon it’s applied to.
- FP Cost: Using the skill costs 14 FP.
- Damage and Effects:
- Deals 88+44+44+110 Motion Value (MV) of damage for the 4 hits of the combo respectively.
- Applies 100+50+50+100 status effect MV for the 4 hits.
- Restores HP to the user: 2% + 25 on the first 3 hits and 4% + 45 HP on the final hit, for a total of 10% + 120 HP.
- Strategic Use: Perform the skill as close to the enemy as possible to ensure all hits connect, due to potential staggering of lighter enemies.
- Affinity: Sacred or Flame Art
Off-hand, 2nd: Smithscript Shield
Lob this beauty at an enemy and follow up with a quick R1 or R2 attack – boom, you’re done. This is your ticket to “easy mode” exploration in the Lands Between or the Realm of Shadow, courtesy of this DLC gift. It’s like having a cheat code, but totally legit.
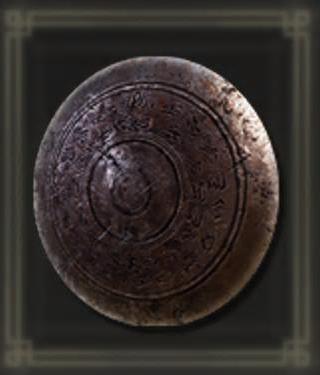
- Weapon type: It’s classified as both a shield and a throwing weapon.
- Unique ability: The Smithscript Shield has a special skill called “Discus Hurl” that allows you to throw the shield at enemies.
- Skill details:
- Discus Hurl consumes 3 FP per use
- The shield instantly returns to the player’s hand after being thrown
- It cannot be charged or used for follow-up attacks
- Scaling: It scales with Strength, Intelligence, and Faith.
- Requirements: To wield effectively, you need 10 Strength, 15 Dexterity, 11 Intelligence, and 11 Faith.
- You can upgrade the shield using Smithing Stones.
Off-hand, 3rd: Clawmark Seal
- Strength Scaling: This seal scales well with both Strength and Faith, making it a good fit for your high Strength and Faith.
- Bestial Incantations: It provides a 10% boost to Bestial Incantations.
- Incant Scaling: 289 (at +25 for the given attribute mix)
- Alternative: Erdtree Seal
- Faith Scaling: The Erdtree Seal has the highest Faith scaling in the game.
- Incantation Boost: It boosts the potency of all incantations, making it versatile for any Faith-based spells you want to use.
- Incant Scaling: 243 (at +10 for the given attribute mix)
Armor
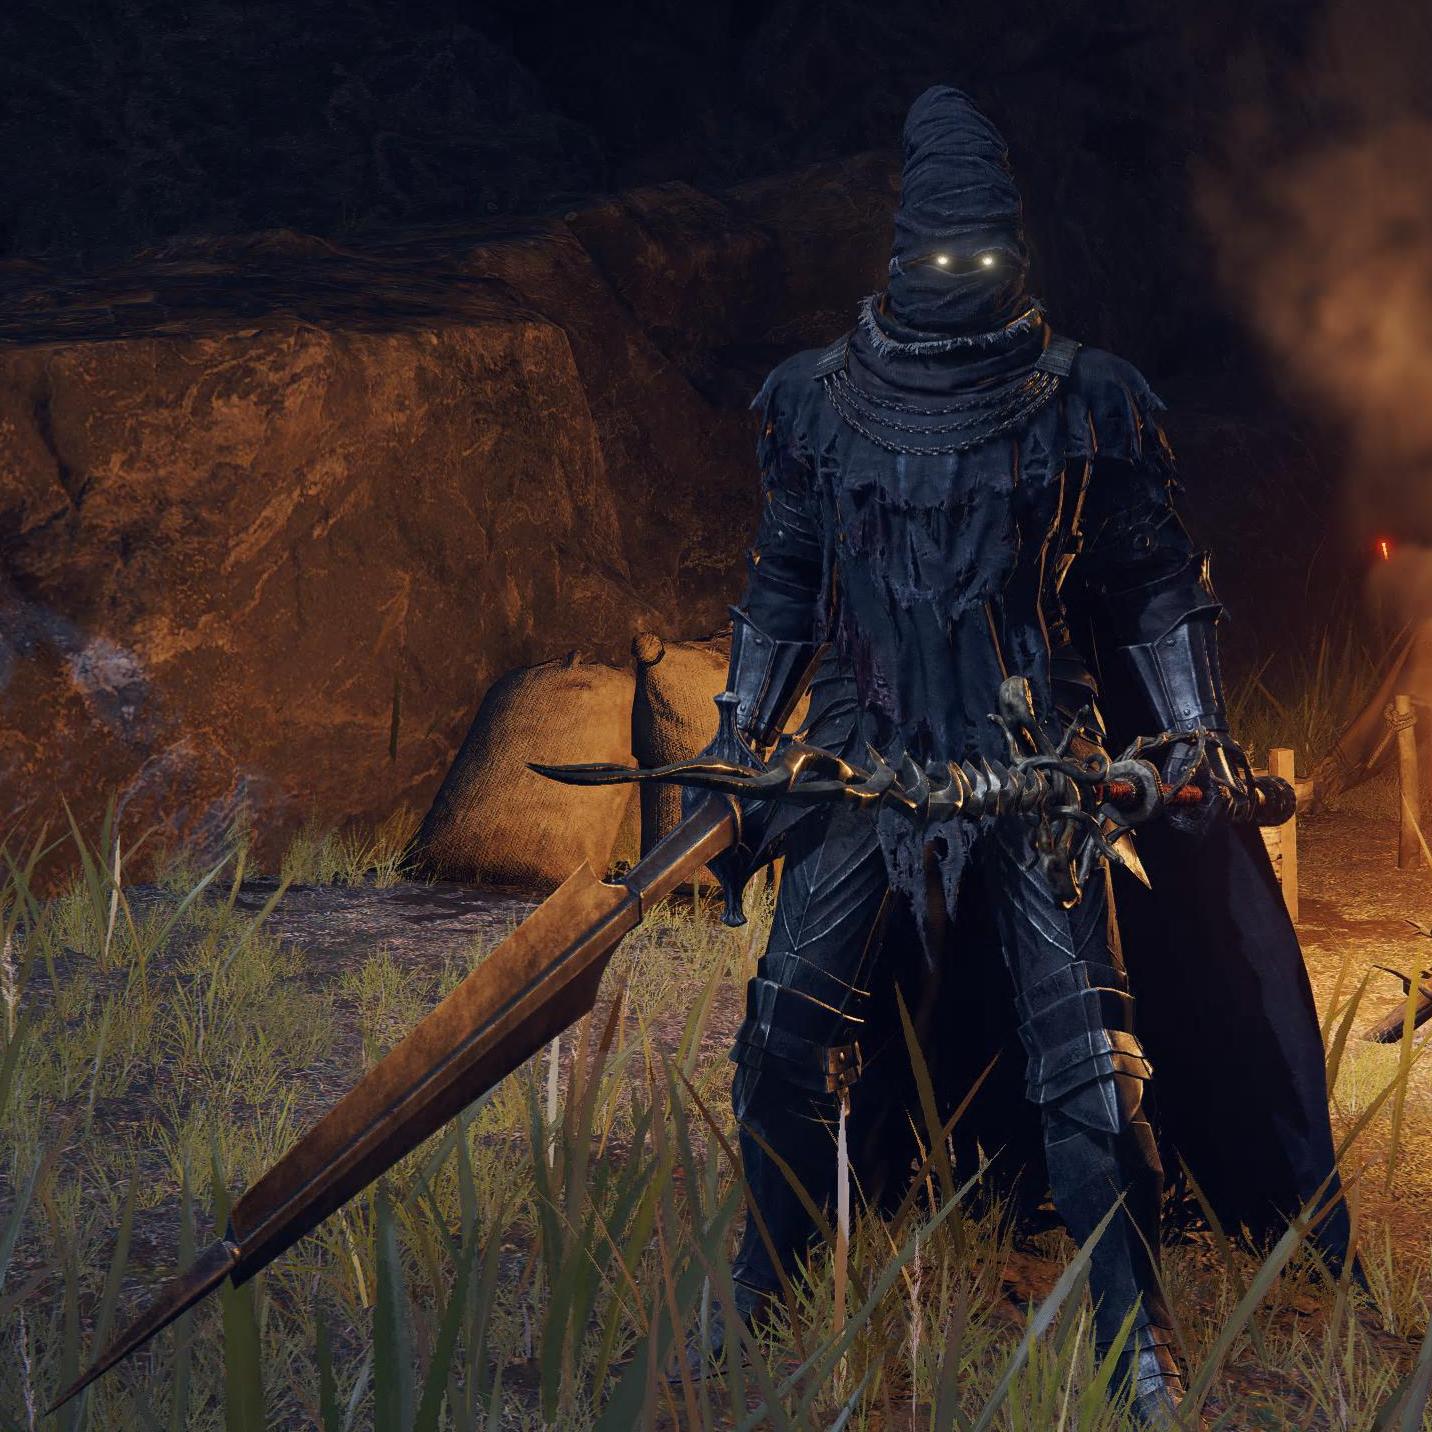
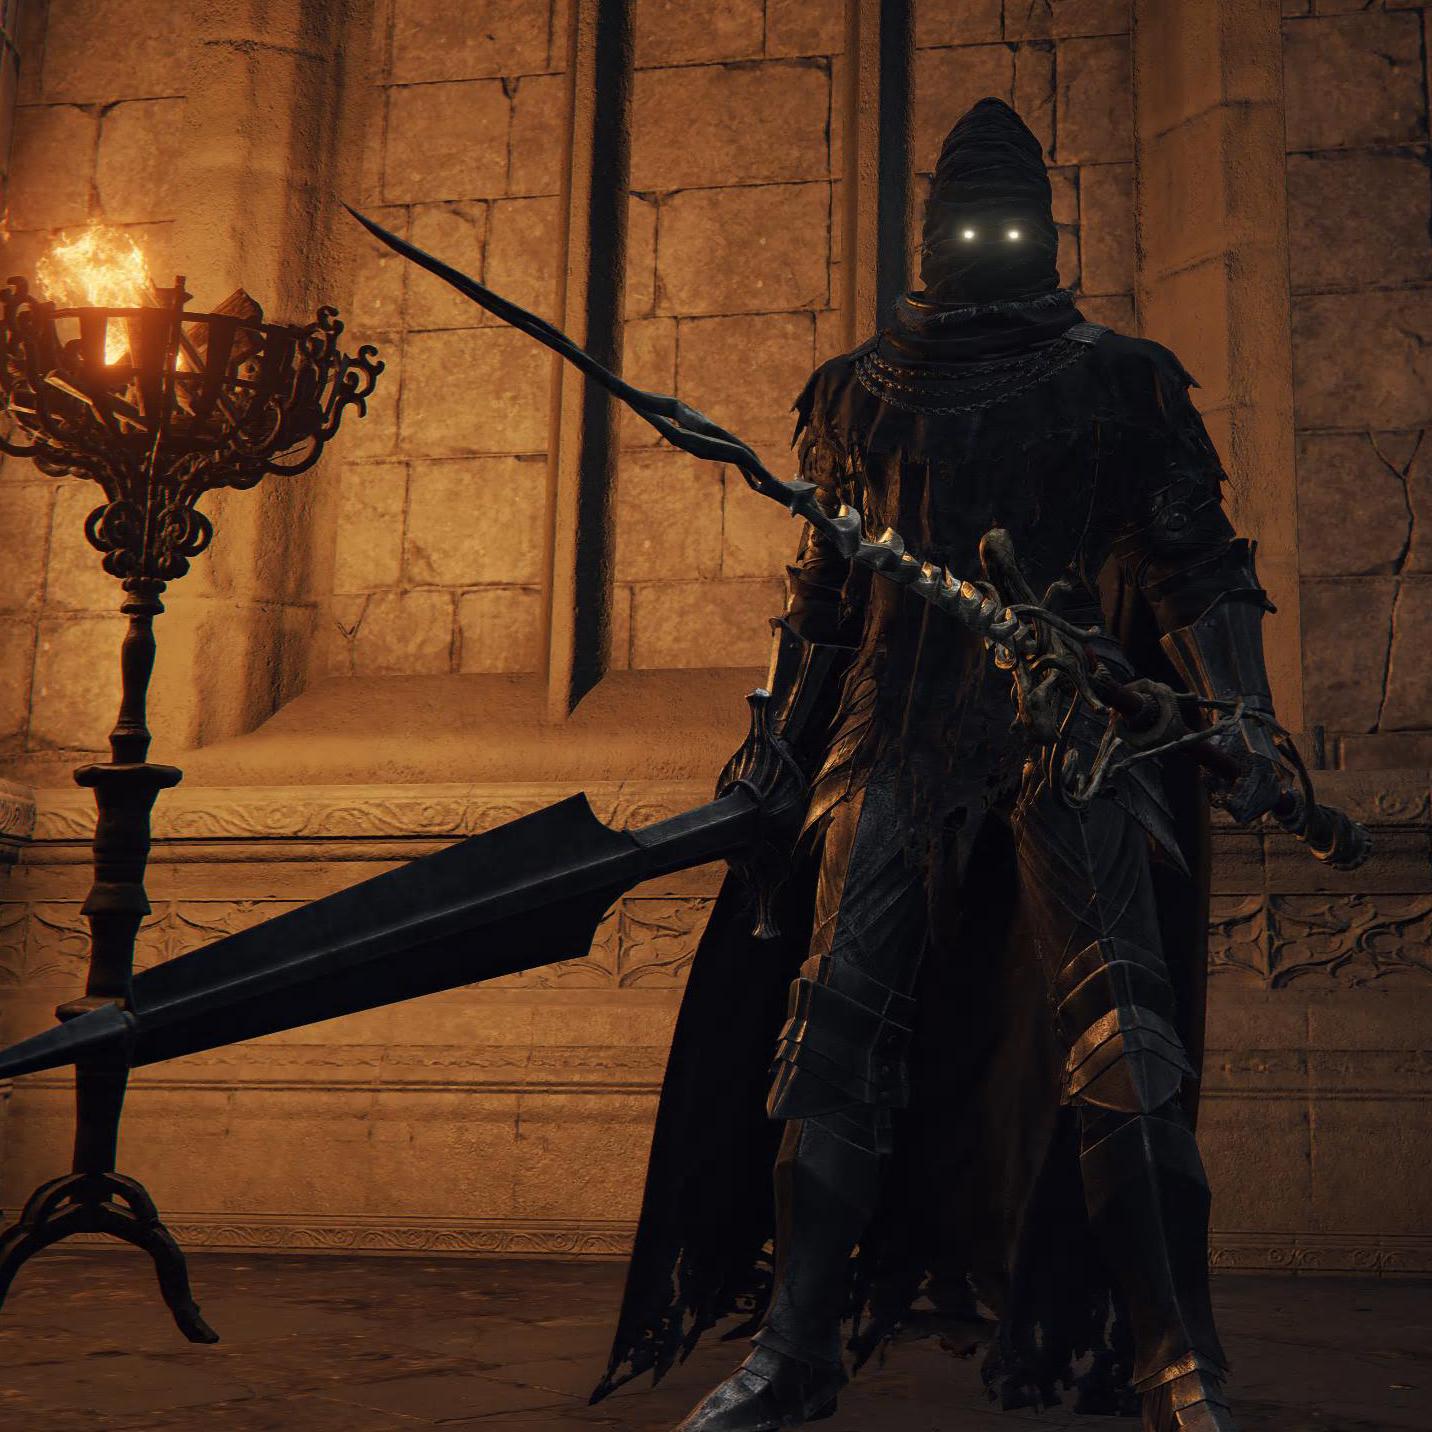
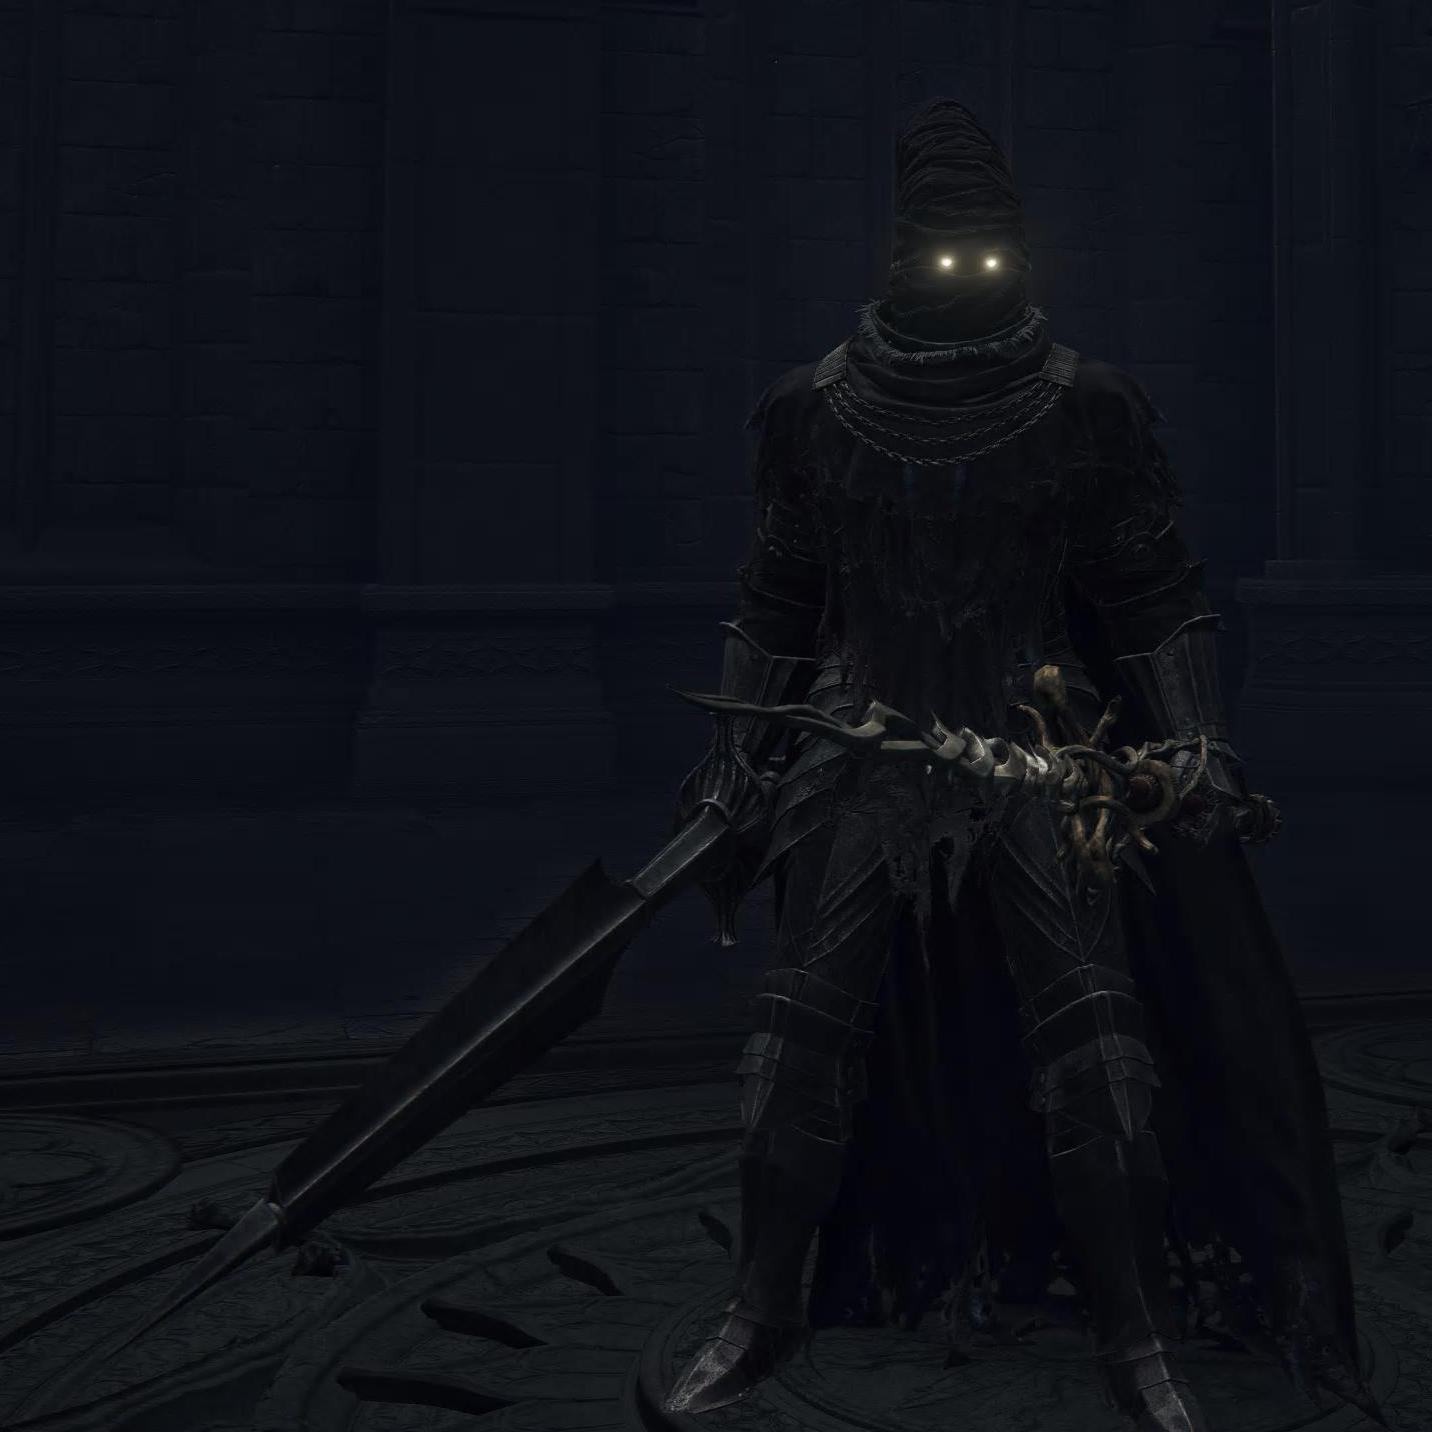
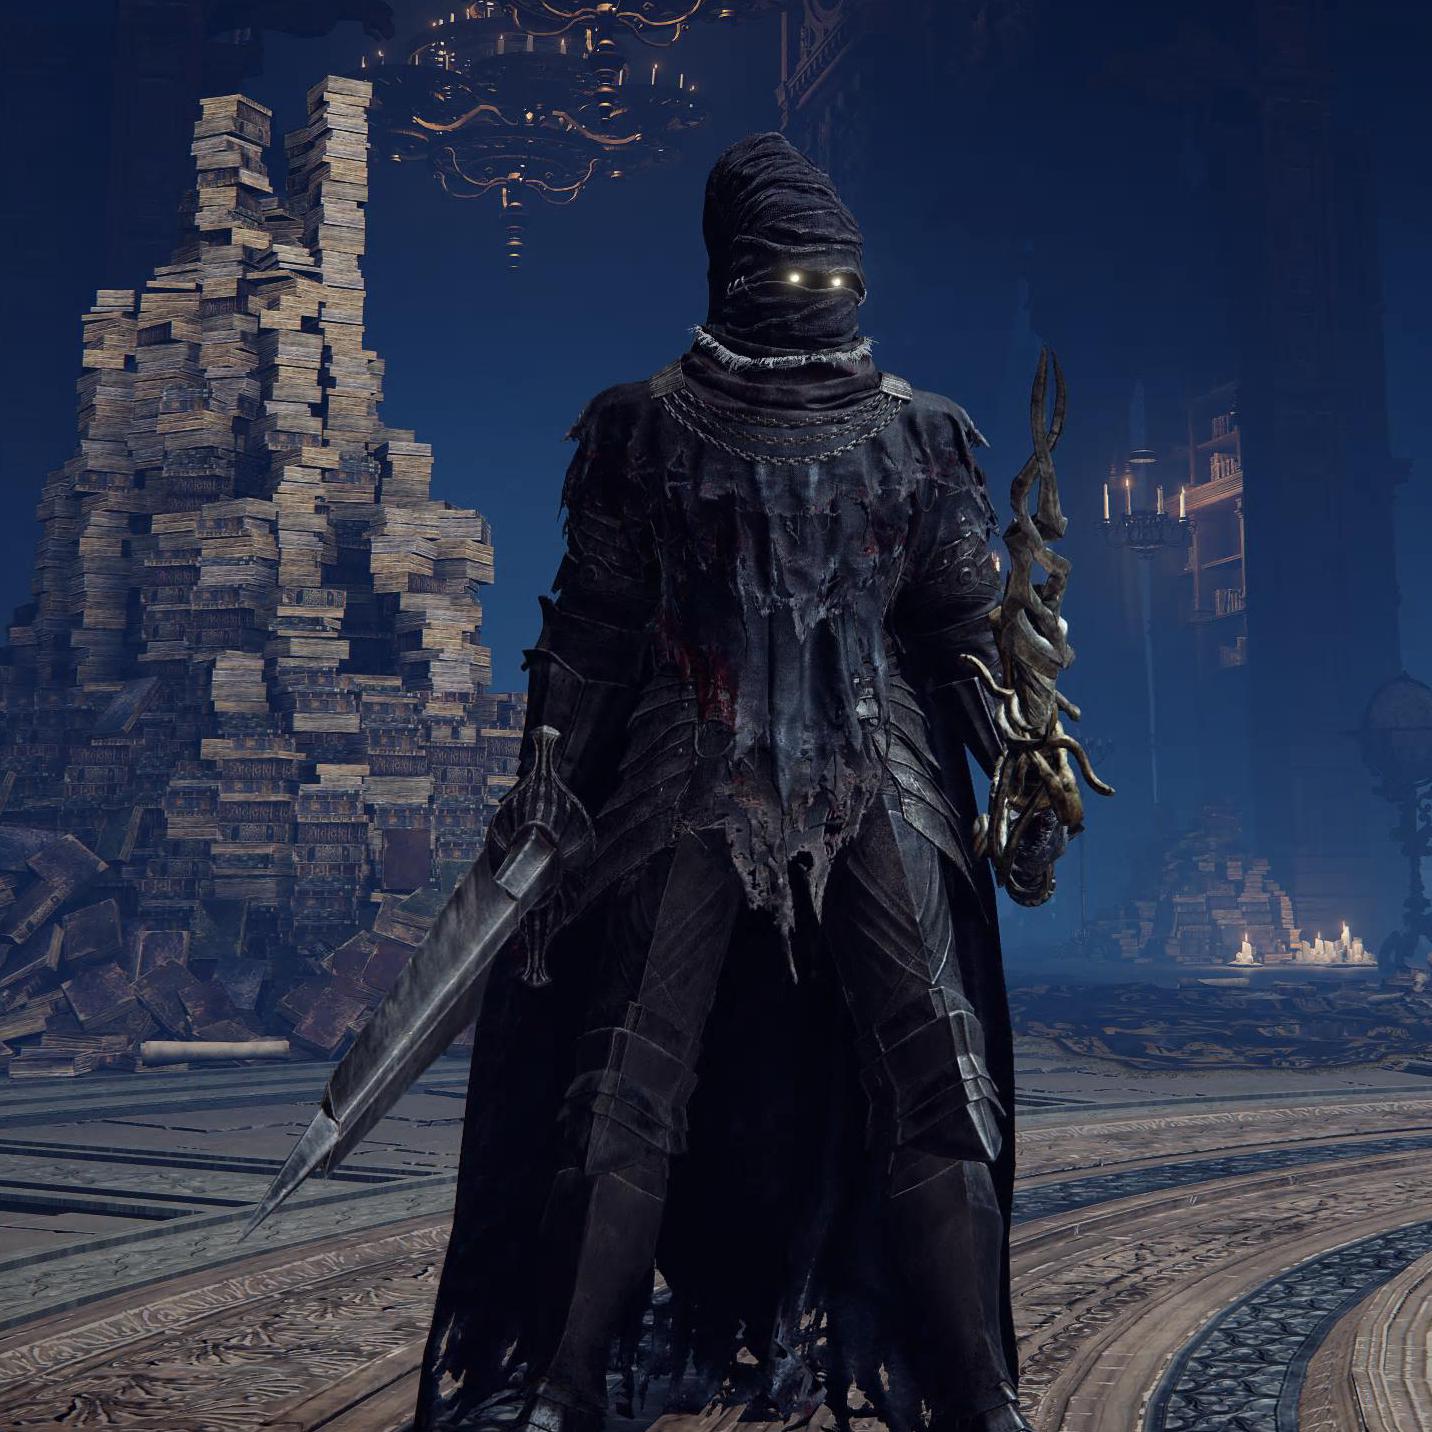
With the armor set I really went for the look that represents the build name “The Phantom Lancer” and happily got to 66 poise, so we are well above 51. If you equip the Bull-Goat’s Talisman your poise increases to 88, if this is important for you playstyle.
- Head: Shadow Militiaman Helm
- Chest: Night’s Cavalry Armor
- Hands: Greaves of Solitude
- Legs: Gauntlets of Solitude
Let me give you a brief description of our build: The Phantom Lancer becomes one with the night, emerging from the shadows to strike with precision and power before vanishing once more, leaving opponents both awed and terrified (or dead). Sounds cool? Yeah, but there’s a twist… In the Consecrated Snowfield, unfortunately being a black phantom is as helpful as a chocolate teapot in a sauna. The Phantom Lancer’s fearsome reputation melts faster than an ice cube in Caelid, leaving them to ponder the irony of a shadow warrior lost in a world of perpetual, blinding light. Whatever, the look is still thrilling!
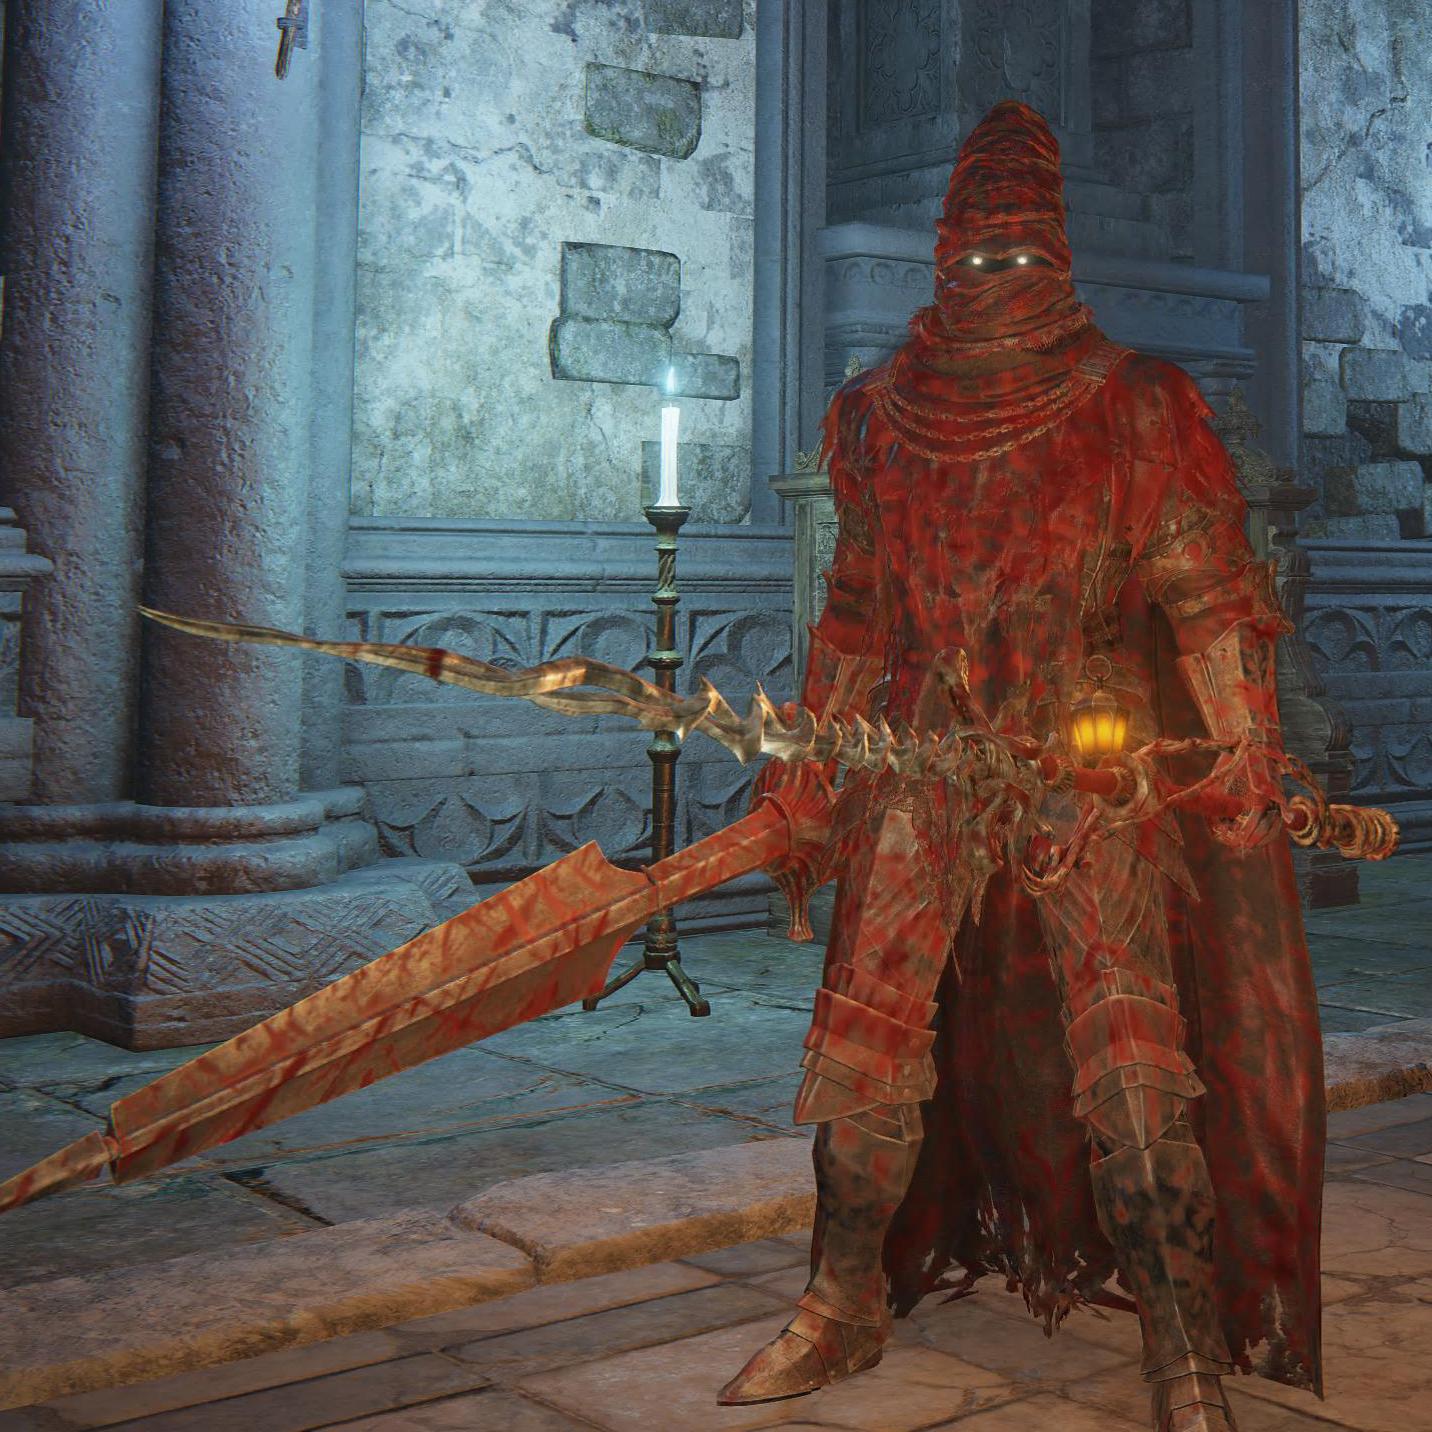

When choosing a different armor combination, consider balancing defense, weight, and any special effects that complement your build strategy (like bleed enhancement). A nice option would be the Rakshasa Set to give you a total of plus 8% in base damage, but then you should keep the Dragoncrest Greatshield Talisman equipped for some extra damage negotiation. However, you won’t be a Phantom any longer…
Talismans
- Dragoncrest Greatshield Talisman – reduces physical damage by 20%.
- Shard of Alexander – boosts the power of weapon skills by 15%.
- Spear Talisman – increases counterattack damage by 15%. Counterattacks are thrusting attacks performed while an enemy is attacking.
- Lacerating Crossed-Tree Talisman – when used together, the Lacerating Crossed-Tree and Spear Talismans can provide a multiplicative damage boost for running attacks with thrusting weapons, especially during counterattack windows.
If you want to get even more offensive damage out of the build, replace the Dragoncrest Greatshield Talisman with the Rotten Winged Sword Insignia to receive a raise on attack power with successive attacks (6%, 8%, 13%).
During normal exploration of the Lands Between I find it useful to equip the Taker’s Cameo to restore my HP after defeating enemies.
Incantations
I’ve selected the following incantations for this build, which provides a nice mix of strengthening and ranged offensive options:
Golden Vow: Raises armament and pledges to honor the Erdtree, granting increased attack power and defense to self and nearby allies. Lasts 80 seconds, increases damage by 15% and raises damage negotiation by 10%. Stacks with Flame, Grant me Strength.
Flame, Grant Me Strength: Temporarily boosts fire-affinity and physical attack power. You can stack this buff with other buffs for increased damage output. Lasts 30 seconds, increases physical and fire damage by 20%.
Bestial Vitality: Grants gradual HP recovery over time. Useful for sustained healing during exploration or prolonged battles. Gives you 5 HP/s for 120 seconds, costs 18 FP and 10 stamina.
OR
Black Flame’s Protection: Creates a protective aura that reduces damage taken. Effective for improving survivability in tough encounters. Last 70 seconds and increases physical damage negotiation by 35%, but reduces all healing by 20%.
Bloodflame Blade: Coats the weapon in bloodflame, adding blood loss buildup to attacks. Particularly effective against enemies vulnerable to bleed effects. Lasts 60 seconds.
Knight’s Lightning Spear: Hurls a lightning spear at enemies. Provides a ranged lightning attack option for melee-focused builds.
Ancient Dragon Lightning Strike: Calls down multiple bolts of red lightning in the surrounding area. Powerful area-of-effect attack with high damage potential.
Stone of Gurranq: Launches a barrage of stone projectiles at enemies. Offers a mid-range attack option with potential for stagger.
OR
Black Flame: Conjures and throws a ball of black flame that deals damage over time. Effective against enemies with high HP pools.
Pest-Thread Spears: Fires multiple homing, piercing threads at enemies. Useful for dealing damage to evasive or flying targets.
Flask of Wondrous Physick
For the Wondrous Physick Flask, I recommend:
- Thorny Cracked Tear (makes consecutive attacks grow stronger for 3 minutes)
- Opaline Hardtear (boosts damage negation by 15% for 3 minutes) or the Greenburst Crystal Tear (increases stamina recovery by 15 per second for a duration of 3 minutes).
Attribute Distribution
- Vigor: 60
- Mind: 20
- Endurance: 42
- Strength: 54
- Dexterity: 20
- Intelligence: 11
- Faith: 50
- Arcane: 7

As you can see, I’m showing the offensive variant with the Rotten Winged Sword Insignia equipped. Check out the EIP Gaming – Elden Ring Build Calculator to play with the build attributes.
Build Distilled
- Main hand: Sword Lance (Piercing Fang, Heavy or Sacred), Miséricorde (Endure, Sacred or Flame Art)
- Off hand: Queelign’s Greatsword (Flame Spear, Flame Art), Smithscript Shield, Clawmark Seal
- Head: Shadow Militiaman Helm
- Chest: Night’s Cavalry Armor
- Hands: Greaves of Solitude
- Legs: Gauntlets of Solitude
- Talismans: Shard of Alexander, Spear Talisman, Lacerating Crossed-Tree Talisman, Dragoncrest Greatshield Talisman or Rotten Winged Sword Insignia
- Wondrous Physick: Thorny Cracked Tear, Opaline Hardtear
- Icantations: Golden Vow, Flame, Grant Me Strength, Bestial Vitality/Black Flame’s Protection, Bloodflame, Blade Knight’s Lightning Spear, Ancient Dragon Lightning Strike ,Stone of Gurranq/Black Flame, Pest-Thread Spears
- Spirit Ash: Mimic Tear
- Great Rune: Radahn’s Great Rune, if equipped, results in HP: 2185, FP: 139 and Stamina: 166 for a nice boost.
Playstyle
Combining the Sword Lance and Queelign’s Greatsword results in a versatile and powerful thrusting weapon playstyle, especially effective for our strength/faith hybrid build. This build capitalizes on both weapons’ strengths: the Sword Lance’s speed and range and Queelign’s Greatsword’s split physical/fire damage.
Let’s look at some tactics that should help you in your quest:
Aggressive Stance
- Use power-stanced attacks to deal high damage with both weapons.
- Utilize jump attacks for stance breaking and critical hits.
- Take advantage of the Sword Lance’s reach for safe pokes.
- Use Endure on the Miséricorde, switch back to the Sword Lance and try to interrupt the enemies attack with your own. You will benefit from the Spear Talisman and cause extra damage.
Ranged Option
- Use Flame Spear on Queelign’s Greatsword to engage enemies at a distance or initiate combat. The fire damage can be effective against certain enemy types.
- Alternatively use the Smithscript Shield to engage enemies at a distance.
Situational Tactics
- Switch to two-handing the Sword Lance for better reach and poise damage when needed.
- Two-hand Queelign’s Greatsword for its unique moveset and fire damage in close quarters.
- If you know in advance that you want to two-hand one of your main weapons, think about swapping one of your talismans for the Two-Handed Sword Talisman to get an extra 15% increase in damage.
Playstyle Adaptability for PvP
Be prepared to adapt your playstyle based on the situation. If an enemy is particularly aggressive, use the Sword Lance to keep them at bay. If an enemy is low on health, switch to Queelign’s Greatsword for a finishing blow.
Mastering this build demands a delicate balance of skill and strategy. Perfecting the art of weapon-switching and leveraging each armament’s strengths is crucial, and practice is your best ally. While challenging to execute, this versatile loadout offers a potent playstyle adaptable to diverse scenarios. By skillfully wielding the Sword Lance and Queelign’s Greatsword, and strategically employing your talismans strengths, you’ll evolve into a force to be reckoned with in the Lands Between. The learning curve may be steep, but the payoff is a build that can rise to almost any challenge thrown your way.
Final Thoughts and Call to Action
As we wrap up our journey through this build, it’s clear that we’ve crafted a formidable warrior for the Lands Between. This build isn’t just about raw power – it’s a symphony of versatility, strategy, and adaptability. From the reach of the Sword Lance to the fiery strikes of Queelign’s Greatsword, every piece of equipment has been carefully chosen to complement each other and provide options for any situation you might face.
Now, it’s your turn to take this knowledge and make it your own. We want to hear from you, if you like. Have you tried this build? What tweaks have you made to suit your playstyle? Share your experiences, victories, and even your epic failures in the comments below. Your insights could be the key to helping fellow Tarnished refine their approach.
So, arm yourself with determination, step into the fray, and let your legend unfold. The Lands Between await your mastery, and with this build at your disposal, you’re more than ready to meet the challenge. May the guidance of grace be with you on your journey, brave Tarnished!
Leave a Reply