Recently I thought about an Elden Ring progression build that would start with the Icerind Hatchet and switch to the Zamor Curved Sword later on. I wanted to find out if the Icerind Hatchet still gives you the shiver of the early days – well, kind of…
In case you don’t know: The Bofrostmann is the delivery driver for Bofrost, one of Europe’s largest direct-sales companies for frozen foods and ice cream. As this build leans hard on frost buildup, “The Bofrostmann” seemed like a fitting name, don’t you think?
After some intense thinking about the build – thinking is always good, but does not always help – I came to the conclusion that I would pair the Hatchet with a second axe. Because what is better than a single axe? Right, power-stancing two axes! In the end I decided to go with the Warped Axe, one of the strongest options for strength and status builds thanks to its scaling and unusual move set.
The payoff is a fast, aggressive dual-axe moveset with serious status pressure behind it. The catch is a stat conflict: the Warped Axe has abnormally high Strength scaling, while the Icerind Hatchet is primarily a Dexterity weapon – yeah, why make it easy?
The fix is to stop fighting it and make the Warped Axe meet the Hatchet halfway with a Cold infusion.
Next problem: The Warped Axe is not a simple pickup. To farm the weapon early, you have to hunt Omens. The earliest spot for this highly entertaining endeavor is the Cliffbottom Catacombs in Liurnia. The Warped Axe is a random drop with a base rate of roughly 4%, and Omens already hit like a truck in the early game, so make sure you have upgraded that Icerind Hatchet before you start farming.
By the way, there is one nice side effect this weapon combination brings along: zero resource conflict. In Elden Ring, managing the upgrade economy is half the battle, and splitting your two weapons across Somber and regular stones means neither one is waiting on the other.
Why Vagabond is the Best Choice
The best starter class for this specific dual-axe setup promised to be the Vagabond. While it might be tempting to pick the Hero because it starts with an axe, or a Warrior/Samurai because they are built for dual-wielding, the Vagabond’s starting spread lands closest to where I wanted to be by the mid game. You want a class that isn’t already carrying points in stats you’ll never touch (Faith and Arcane) while starting you off in the ones you will.
| Vagabond Starting Stats | How it Helps Your Build |
| Vigor: 15 | Gives you the highest starting health pool so you can survive early mistakes. |
| Strength: 14 | Gets you very close to the hefty 24 Strength requirement for the Warped Axe. |
| Dexterity: 13 | Only needs 3 points to meet the 16 Dex requirement for the Icerind Hatchet. |
| Faith: 9 / Arcane: 7 | Perfectly optimized. You don’t waste points in magic stats you aren’t using. |
Don’t get your hopes up about those 9 points in Intelligence, though. Cold infusion does push part of your damage into a magic split, and Intelligence feeds that split – but frostbite buildup itself is bolted to your weapon’s upgrade level and nothing else. Your stat sheet doesn’t touch it. This trips up a lot of frost builds: people dump points into Int expecting faster freezes and get slightly bigger magic numbers instead. Upgrade the weapon, not the stat.
Introducing the Weapons
Let me throw in a few more details about the weapons used in this casual run. I’ve already named them all: Icerind Hatchet and Warped Axe at the start, Zamor Curved Sword for the late game. Well, that’s the plan, we’ll see how it plays out later on.
Icerind Hatchet
A fast, agile light axe with inherent Frostbite build-up.
- Requirements: 11 Strength, 16 Dexterity
- Scaling: Strength D, Dexterity B (at +10 Somber upgrade)
- Skill: Hoarfrost Stomp (FP Cost: 10)
- Strengths:
- Uses the Hand Axe moveset, making it noticeably faster than standard axes.
- Upgrades via Somber Smithing Stones, so it climbs fast in the early game.
- Fixed, easy-to-grab chest location in Liurnia.
- Weaknesses:
- Purely a Dexterity-focused weapon, making its raw physical damage lower than heavier axes.
Warped Axe
A heavy, double-headed brute axe disguised as a normal 1-handed axe.
- Requirements: 24 Strength, 8 Dexterity
- Scaling (Standard): Strength C
- Scaling (Cold Infusion +25): Strength A, Intelligence C
- Skill: Comes with the War Cry Ash of War, but is customizable (Cragblade, Wild Strikes, etc.)
- Strengths:
- Shares its light and heavy attack chains with the Ripple Blade and the Messmer Soldier’s Axe. Both chains swing with each side of the double head, which shortens the gap between hits – you feel it most on the second and fourth swings of a combo.
- Hidden code quirk: the weapon carries Greataxe-tier status buildup on its Cold, Poison and Blood infusions, well above what regular axes get, and its Strength scaling stays abnormally high across every infusion. Cold-infused, that means 100+ frostbite per swing at axe speed.
Zamor Curved Sword
An endgame Curved Greatsword that acts as a frost-coated, poise-breaking power tool.
- Requirements: 16 Strength, 18 Dexterity
- Scaling: Strength C, Dexterity B (at +10 Somber upgrade)
- Passive Effect: 65 Frostbite build-up per hit
- Skill: Zamor Ice Storm (FP Cost: 15)
- Strengths:
- Has a completely unique light-attack moveset with sweeping, dance-like multi-hits.
- Zamor Ice Storm might be the best frost AOE in the game – it surrounds you with a tornado that staggers foes and triggers instant frostbite. The skill hits at around 630 frost buildup, enough to freeze Radagon in a single use, and patch 1.07 raised both its damage and its frostbite buildup.
- Slots into Quality and Dexterity builds without asking you for a single point of Intelligence. That means you can power stance it with the Bloodhound’s Fang for frost and bleed buildup – just saying…
The Early Game Setup Phase
As usual, I’d suggest taking some time to set up your character by collecting a fair amount of Sacred Tears and Golden Seeds, plus some Bell Bearings, Talismans and Crystal Tears. The same goes for (Somber) Smithing Stones. Check out the post “The Ultimate Somber Smithing Stone Highway to +9 Power” for a fast and proven strategy on somber upgrades. For the regular Smithing Stones, use your upgraded +5 Icerind Hatchet to grab the Smithing-Stone Miner’s Bell Bearing [1] in the Raya Lucaria Crystal Tunnel. Make a short trip to Altus (take the lift) and snatch the Smithing-Stone Miner’s Bell Bearing [2] at the start of the Sealed Tunnel. Now you can upgrade the Warped Axe to +12.
Early Game Findings
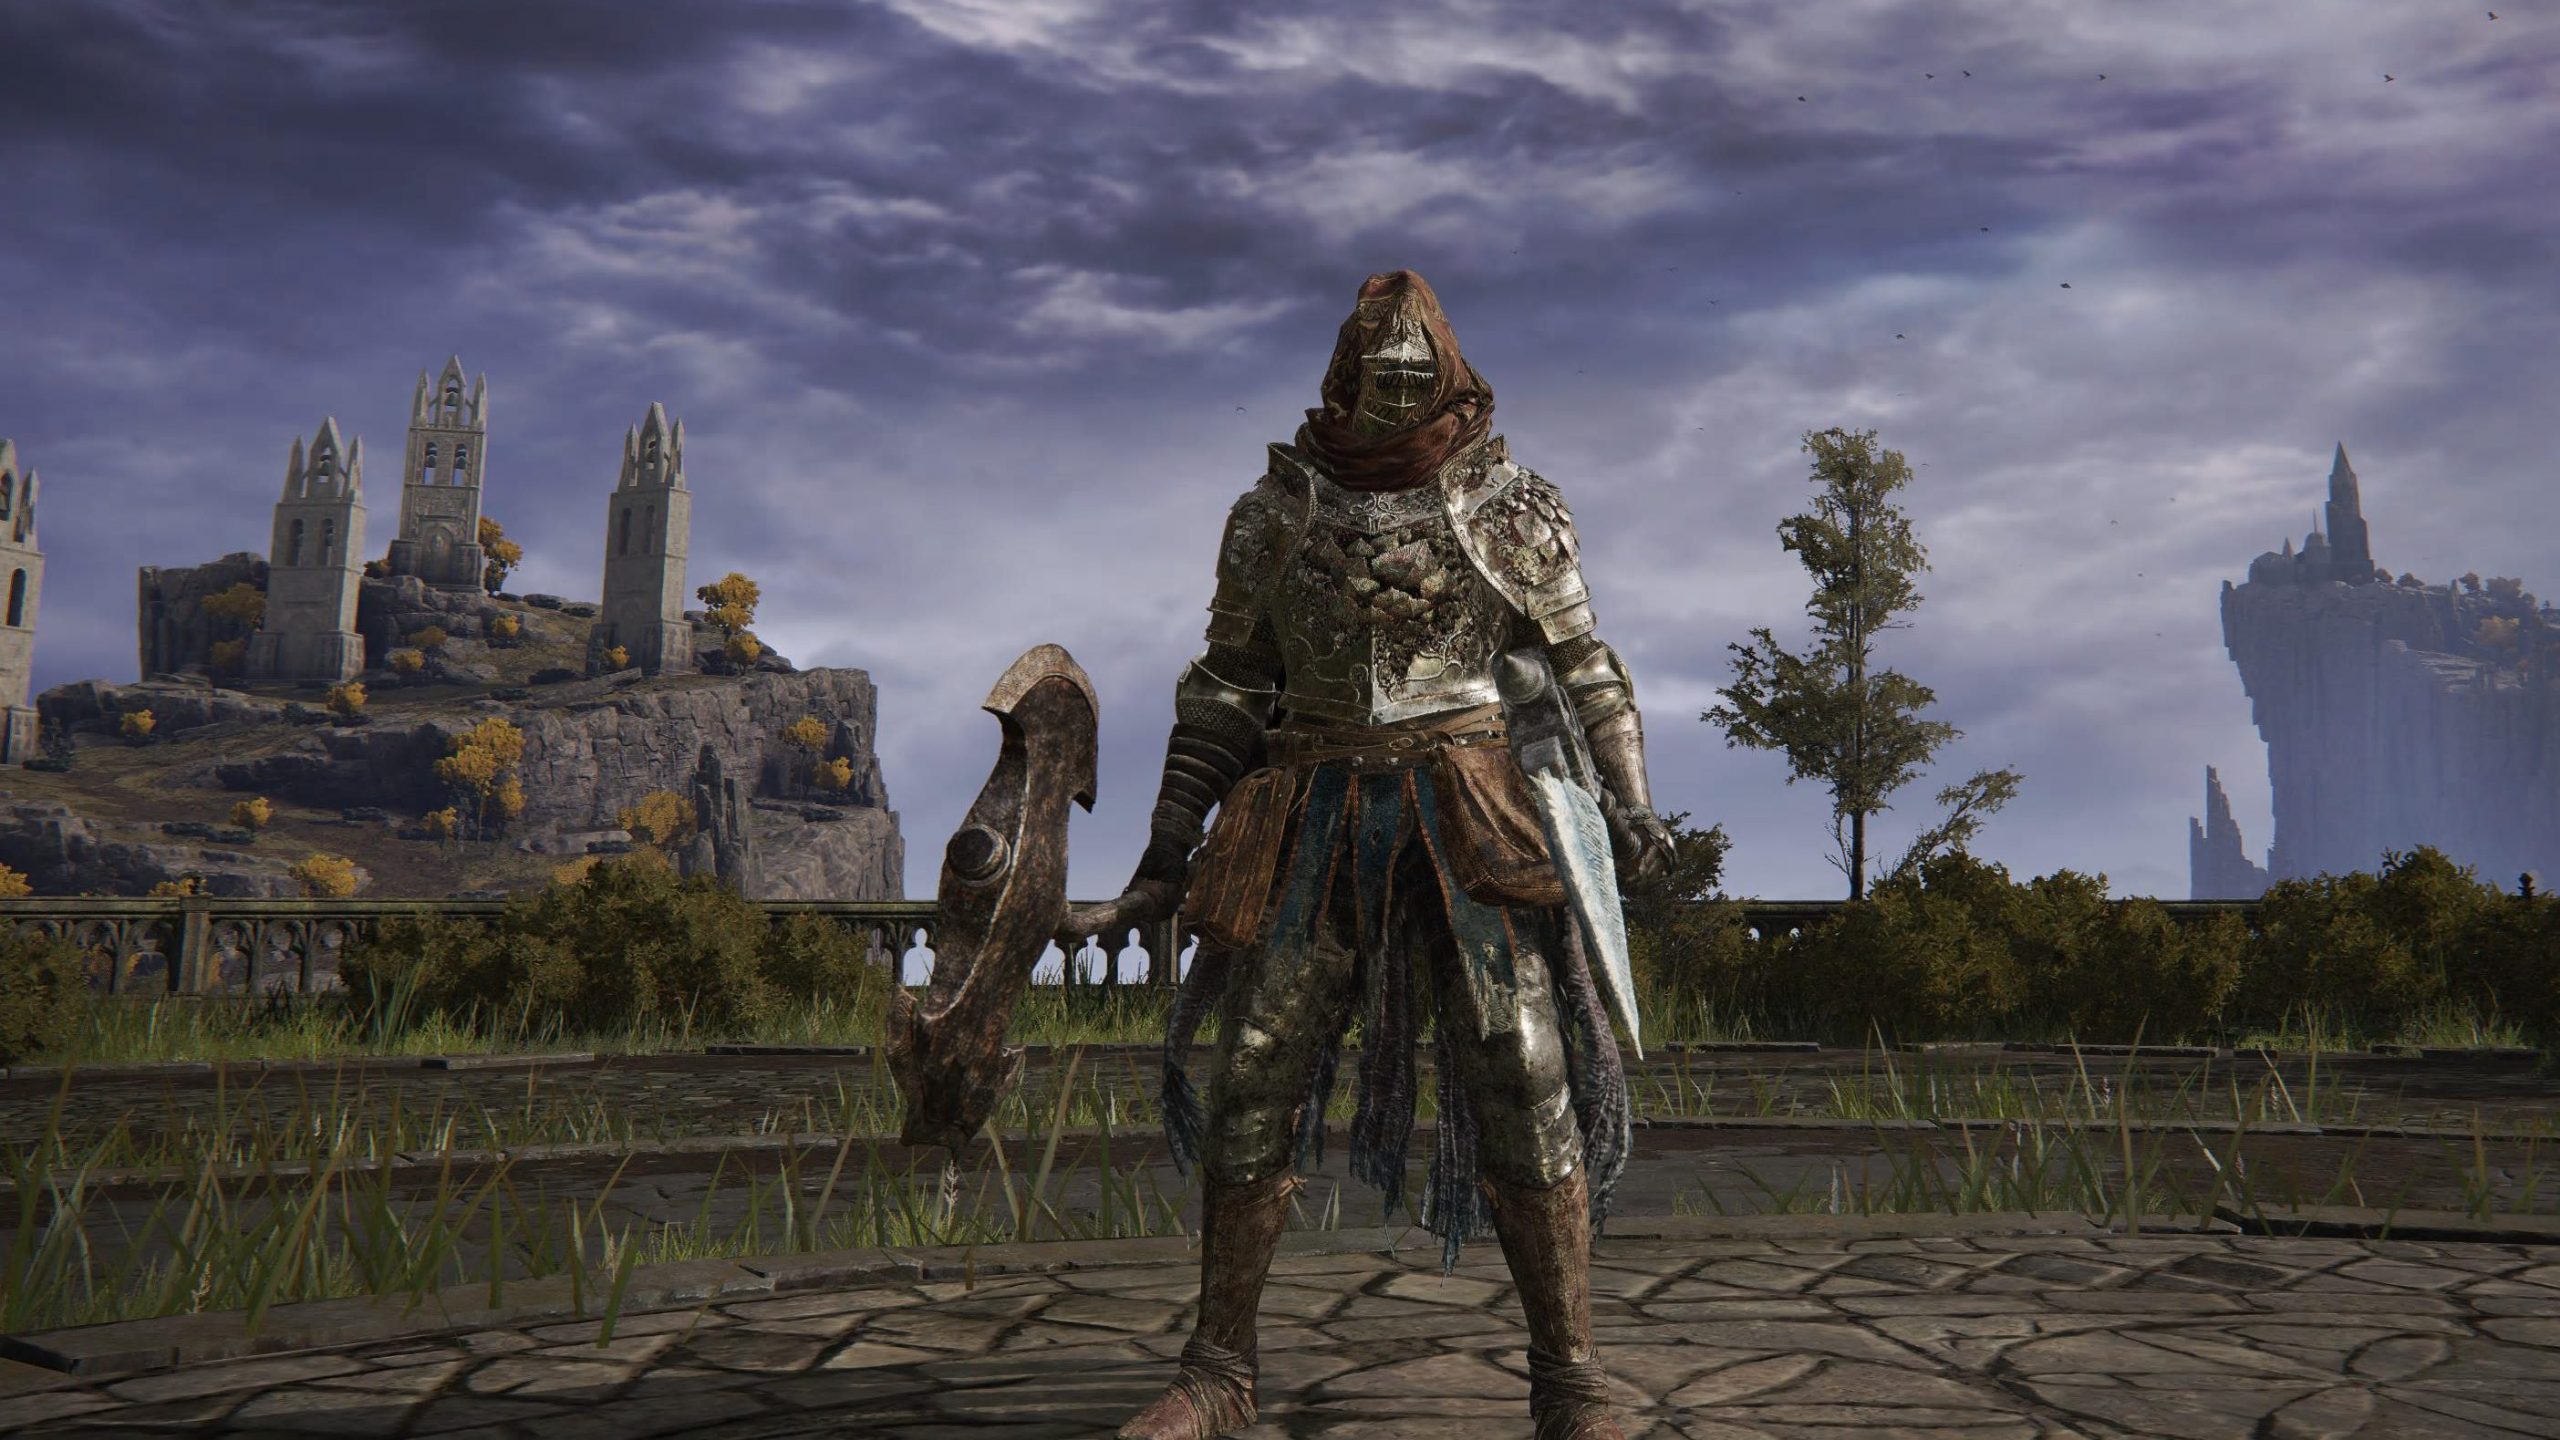
As you surely remember, I wanted to find out what’s left from the Icerind Hatchet’s glory days before patch 1.03, when it was one of Elden Ring’s most notorious early-game power weapons. It came with frostbite buildup on top of a very strong area skill, so it punched way above its weight.
Well, the punch is still there, but the days where it would compete in the heavy weight class are long gone. I quickly realized that the Warped Axe with the Hoarfrost Stomp Ash of War creates more damage and frost buildup. You get that Ash of War from an invisible Teardrop Scarab roaming the shallow water southeast of Caria Manor – watch for the glowing footprints and swing as they come toward you.
At regular +12, the Cold Warped Axe puts out 102 frost buildup against the Hatchet’s 65. The Cold infusion drags physical damage down to 156, but hands you 117 magic damage on top. The Icerind Hatchet at Somber +5 is sitting at 198 physical.
I hadn’t visited Raya Lucaria to obtain the Glintstone Whetblade, so applying Cold affinity to the Warped Axe seemed impossible, but the Hoarfrost Stomp Ash of War solved that problem. That was the moment when I moved the Warped Axe to the main hand and the Icerind Hatchet to the off-hand.
Why Warped Axe in Main-Hand Wins
Let me explain why moving the Warped Axe to the main-hand is the better way to go.
1. Custom Ash of War Flexibility
The Icerind Hatchet is locked to Hoarfrost Stomp. If it’s in your main hand, you are stuck with that single skill forever.
The Warped Axe lets you swap skills depending on the encounter. You can put Cragblade on it for boss stance-breaks, Chilling Mist to coat your blade for massive frost buildup, Hoarfrost Stomp for safe ranged crowd control, or Wild Strikes to hyper-armor through enemy mobs – all while keeping the Cold affinity.
2. Higher Base Damage & Poise Break on Single Attacks
Even with a Cold affinity applied, the Warped Axe wins on single hits – R1s, rolling attacks, running attacks – and it isn’t close:
- A Cold-infused Warped Axe keeps abnormally strong Strength scaling. Because your build requires 24 Strength just to hold the thing, every point of that Strength feeds directly into the physical hit.
- The combined Attack Rating is significantly higher than the lightweight Icerind Hatchet at equivalent upgrade levels.
- The Warped Axe hits with much higher poise damage per single swing.
3. You Can Still Access Hoarfrost Stomp
Putting the Icerind Hatchet in your off-hand doesn’t mean losing its skill. Two-hand your off-hand weapon (Triangle / Y + L1), cast Hoarfrost Stomp, then drop straight back into dual-wielding.
The Bottom Line: Cold Warped Axe in the main hand, Icerind Hatchet in the off-hand. That’s the setup I’d hand anyone wanting to run two axes – at least if you ask me.
The 3 Go-To Physick Setup Archetypes
At base or low Intelligence (around 10-12), the magic portion of the Cold Warped Axe’s damage stays small. Not worth burning a Physick slot on the Magic-Shrouding Cracked Tear while you’re swinging two axes – there are better options for a physical berserker. Park that thought, though. It comes back later.
| Setup Archetype | Crystal Tears Used | Best Used For |
| 1. All-Purpose / Comfort | Opaline Hardtear + Greenburst Crystal Tear | Blind boss progression or when you just want to play safe and smooth. |
| 2. Stagger / Poise-Break | Stonebarb Cracked Tear + Thorny Cracked Tear | Bosses susceptible to stance breaks. Pair with Cragblade. |
| 3. Pure Aggression | Thorny Cracked Tear + Greenburst Crystal Tear | Maxing out raw DPS during Frostbite status windows with non-stop L1 combo strings. |
The Thorny Cracked Tear drops late, from the Putrid Avatar at the Minor Erdtree in Consecrated Snowfield, east of Ordina Liturgical Town. It runs for three minutes and ramps through three tiers of attack power the longer you keep swinging – stop hitting things and it decays back down. So the “All-Purpose” solution is the way to go until that pickup is on the table.
The Strength-knot Crystal Tear is worth grabbing early too. Head northeast from Stormhill Shack to the cliffs and look for a stone bowl on the ground – there’s a troll patrolling nearby, so hug the cliff edge if you’d rather not explain yourself to it. It gives you +10 Strength for 3 minutes and pushes the Warped Axe’s damage up nicely.
Personal Mountain Tops Notes
Back to some personal story telling.
Fire Giant
After putting Wild Strikes on the Warped Axe I managed to send the Fire Giant into cold retirement while two-handing the weapon. Yes, I didn’t use the Icerind Hatchet at all in the fight and basically relied on the Ash of War, as that promised to deliver the better result – and it did. By the way, swapping Talismans depending on the upcoming boss fight and your weapon loadout is something that really helps you to achieve victory.
Zamor Curved Sword
Now it was finally time to get the Zamor Curved Sword – I nearly forgot that. It took a moment (or two) to claim the win as I had to learn the moveset of the Ancient Hero of Zamor anew after not fighting him in over a year. Let’s be honest now: who enters the Giant-Conquering Hero’s Grave regularly in his casual playthroughs? Please report!
Commander Niall
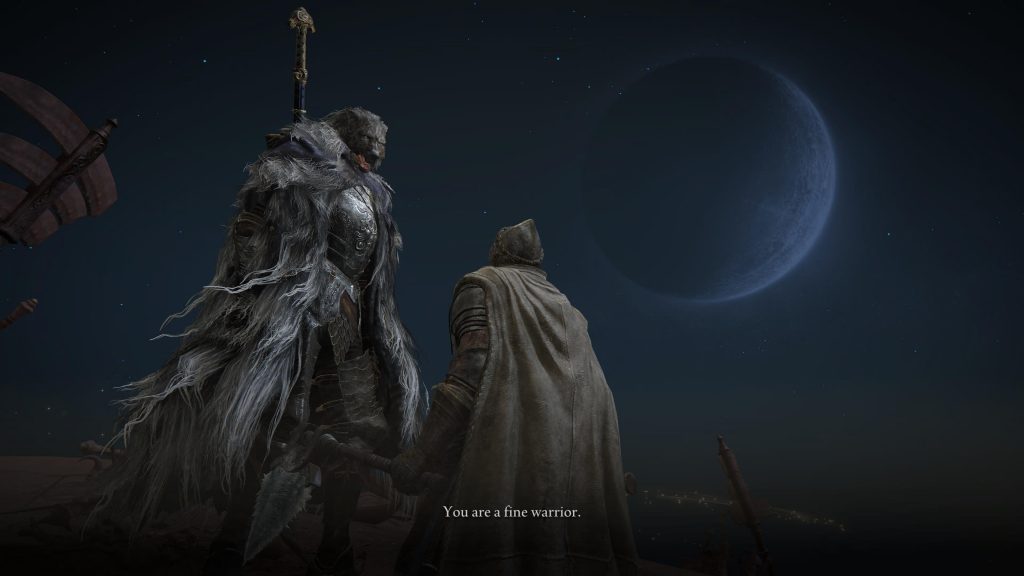
Commander Niall was still on the list to get the missing half of the Haligtree Secret Medallion, and I decided not to respec and find out how good the Zamor Curved Sword would work with my current stat distribution. The sword scales with Strength and Dexterity. I was sitting at 42 STR and 21 DEX, with Radagon’s Soreseal and Starscourge Heirloom equipped. The Zamor Curved Sword, upgraded to +9, was sitting at 533 physical AR, while the +21 Warped Axe had an overall AR of 553 – that crooked thing really hits like a truck. I paired the Zamor Curved Sword with the Buckler in the off-hand to see what was left from my latest “learn-to-parry” run.
What can I say? The Zamor Curved Sword has a completely unique light-attack moveset that felt absolutely awkward to me at that moment. Let alone defeating the two Banished Knights summoned by Niall was a mess, and after a few disappointing attempts I decided that this was not the time and place to familiarize myself with the moveset of my new sword.
I switched back to the Warped Axe and in the end put Spinning Weapon on it. Updating my Talisman setup was next on the list (Winged Sword Insignia, Dagger Talisman, Axe Talisman, Green Turtle Talisman). Spinning Weapon deleted the Banished Knight wielding two swords and also worked well on the one with the shield – both dead, hardly any damage taken. Some parries, ripostes and dodges later (timed and mistimed), Niall was defeated by the cold Warped Axe.
I added a clip with some footage of the fight below as proof of my questionable skills. To not humiliate myself more than necessary, I removed two sequences of very bad gameplay from the full fight, where I got hit, missed parries and had to heal up (multiple times).
The Curved Greatsword Puzzle
Ok, that’s a very simple two part puzzle and I somewhat teased it already at the beginning of this article. Not knowing that I would actually walk this road, because I wrote this text bit by bit while doing the run. Yes, you’re guessing correct, I paired the Zamor Curved Sword with everybody’s darling the Bloodhound’s Fang in the off-hand. I can’t help it, but I just like dual-wielding weapons, and having frost and bleed buildup is a Tarnished’s dream come true. The only downside: I needed some more Endurance to wield the two swords and wear armor that reaches 51 poise.
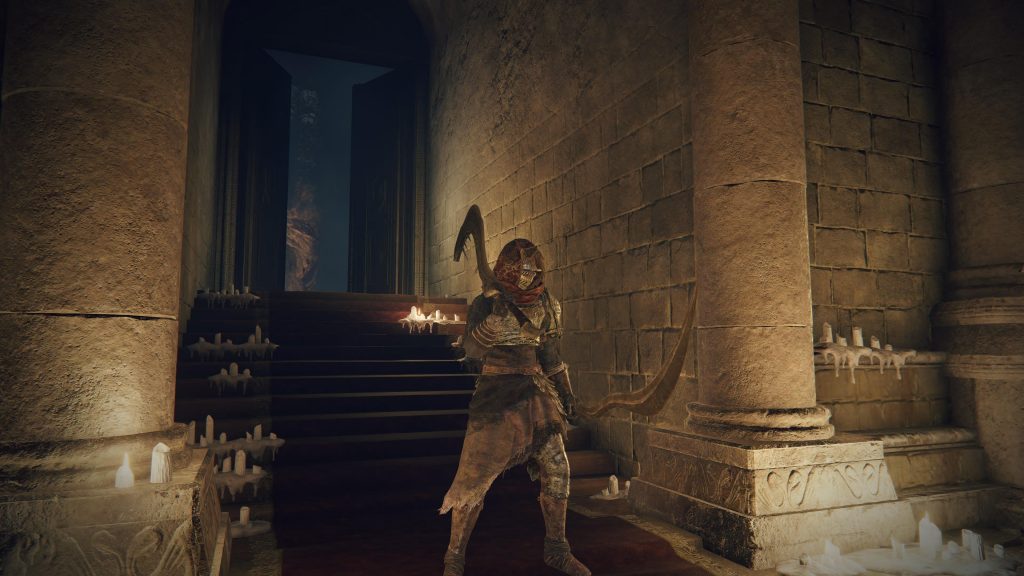
However, I also did some testing with the Zamor Curved Sword in the main-hand and the Icerind Hatchet in the off-hand. This allows you to sneak in some fast hits with the axe and keep the frost buildup going. The R1 into L1 combo is also really fast, as I found out on my way through Caria Manor and defeating Blue Spirit Loretta. But losing the power stance option just weighs too much in my opinion. As long as you go double axe, the Icerind Hatchet is a great supporting act. Nevertheless, it just felt as if it was time to let it go for superior damage in the end game at that point. Even two-handing the Zamor Curved Sword is imho the better choice.
Imagine you could put the Unending Dance skill from the Dancing Blade of Ranah onto the Zamor Curved Sword. I mean, it already has a dance-like multi-hit moveset. That would look really cool, don’t you think? Watching a Curved Greatsword swing through continuous, endless spinning slashes would be nuts, but would simply break the game.
Revisiting the Physick
Remember when I told you to skip the Magic-Shrouding Cracked Tear? Take it back the moment the axes go in the storage chest.
The Zamor Curved Sword is a genuinely weird weapon. Its normal attacks are pure physical, but Zamor Ice Storm deals pure magic – and that magic portion barely responds to your attributes at all. You can pour points into Strength and Dexterity until your eyes water and the skill hardly notices. What it does respond to is the Magic-Shrouding Cracked Tear, plus the Shard of Alexander and (if you visited the DLC) Enraged Divine Beast talismans, all three of which buff it directly. The skill also carries 39 stance damage per cast, which explains why it staggers things it has no business staggering.
So the Physick logic flips with the weapon swap. Axes: physical tears. Zamor: feed the skill.
Late Game and Final Build
The build was more or less set at this point, so I’ll keep this part tight. A few final touches were still outstanding. I had to get the Thorny Cracked Tear in Consecrated Snowfield and max out both Curved Greatswords to +10. It comes in handy that you can pick up two Somber Ancient Dragon Smithing Stones in Consecrated as well (Latenna questline and defeating the invader Anastasia, Tarnished-Eater). I also ran the Millicent questline to get the Rotten Winged Sword Insignia for some more damage on consecutive hits, but that’s actually it – except for “the main work”.
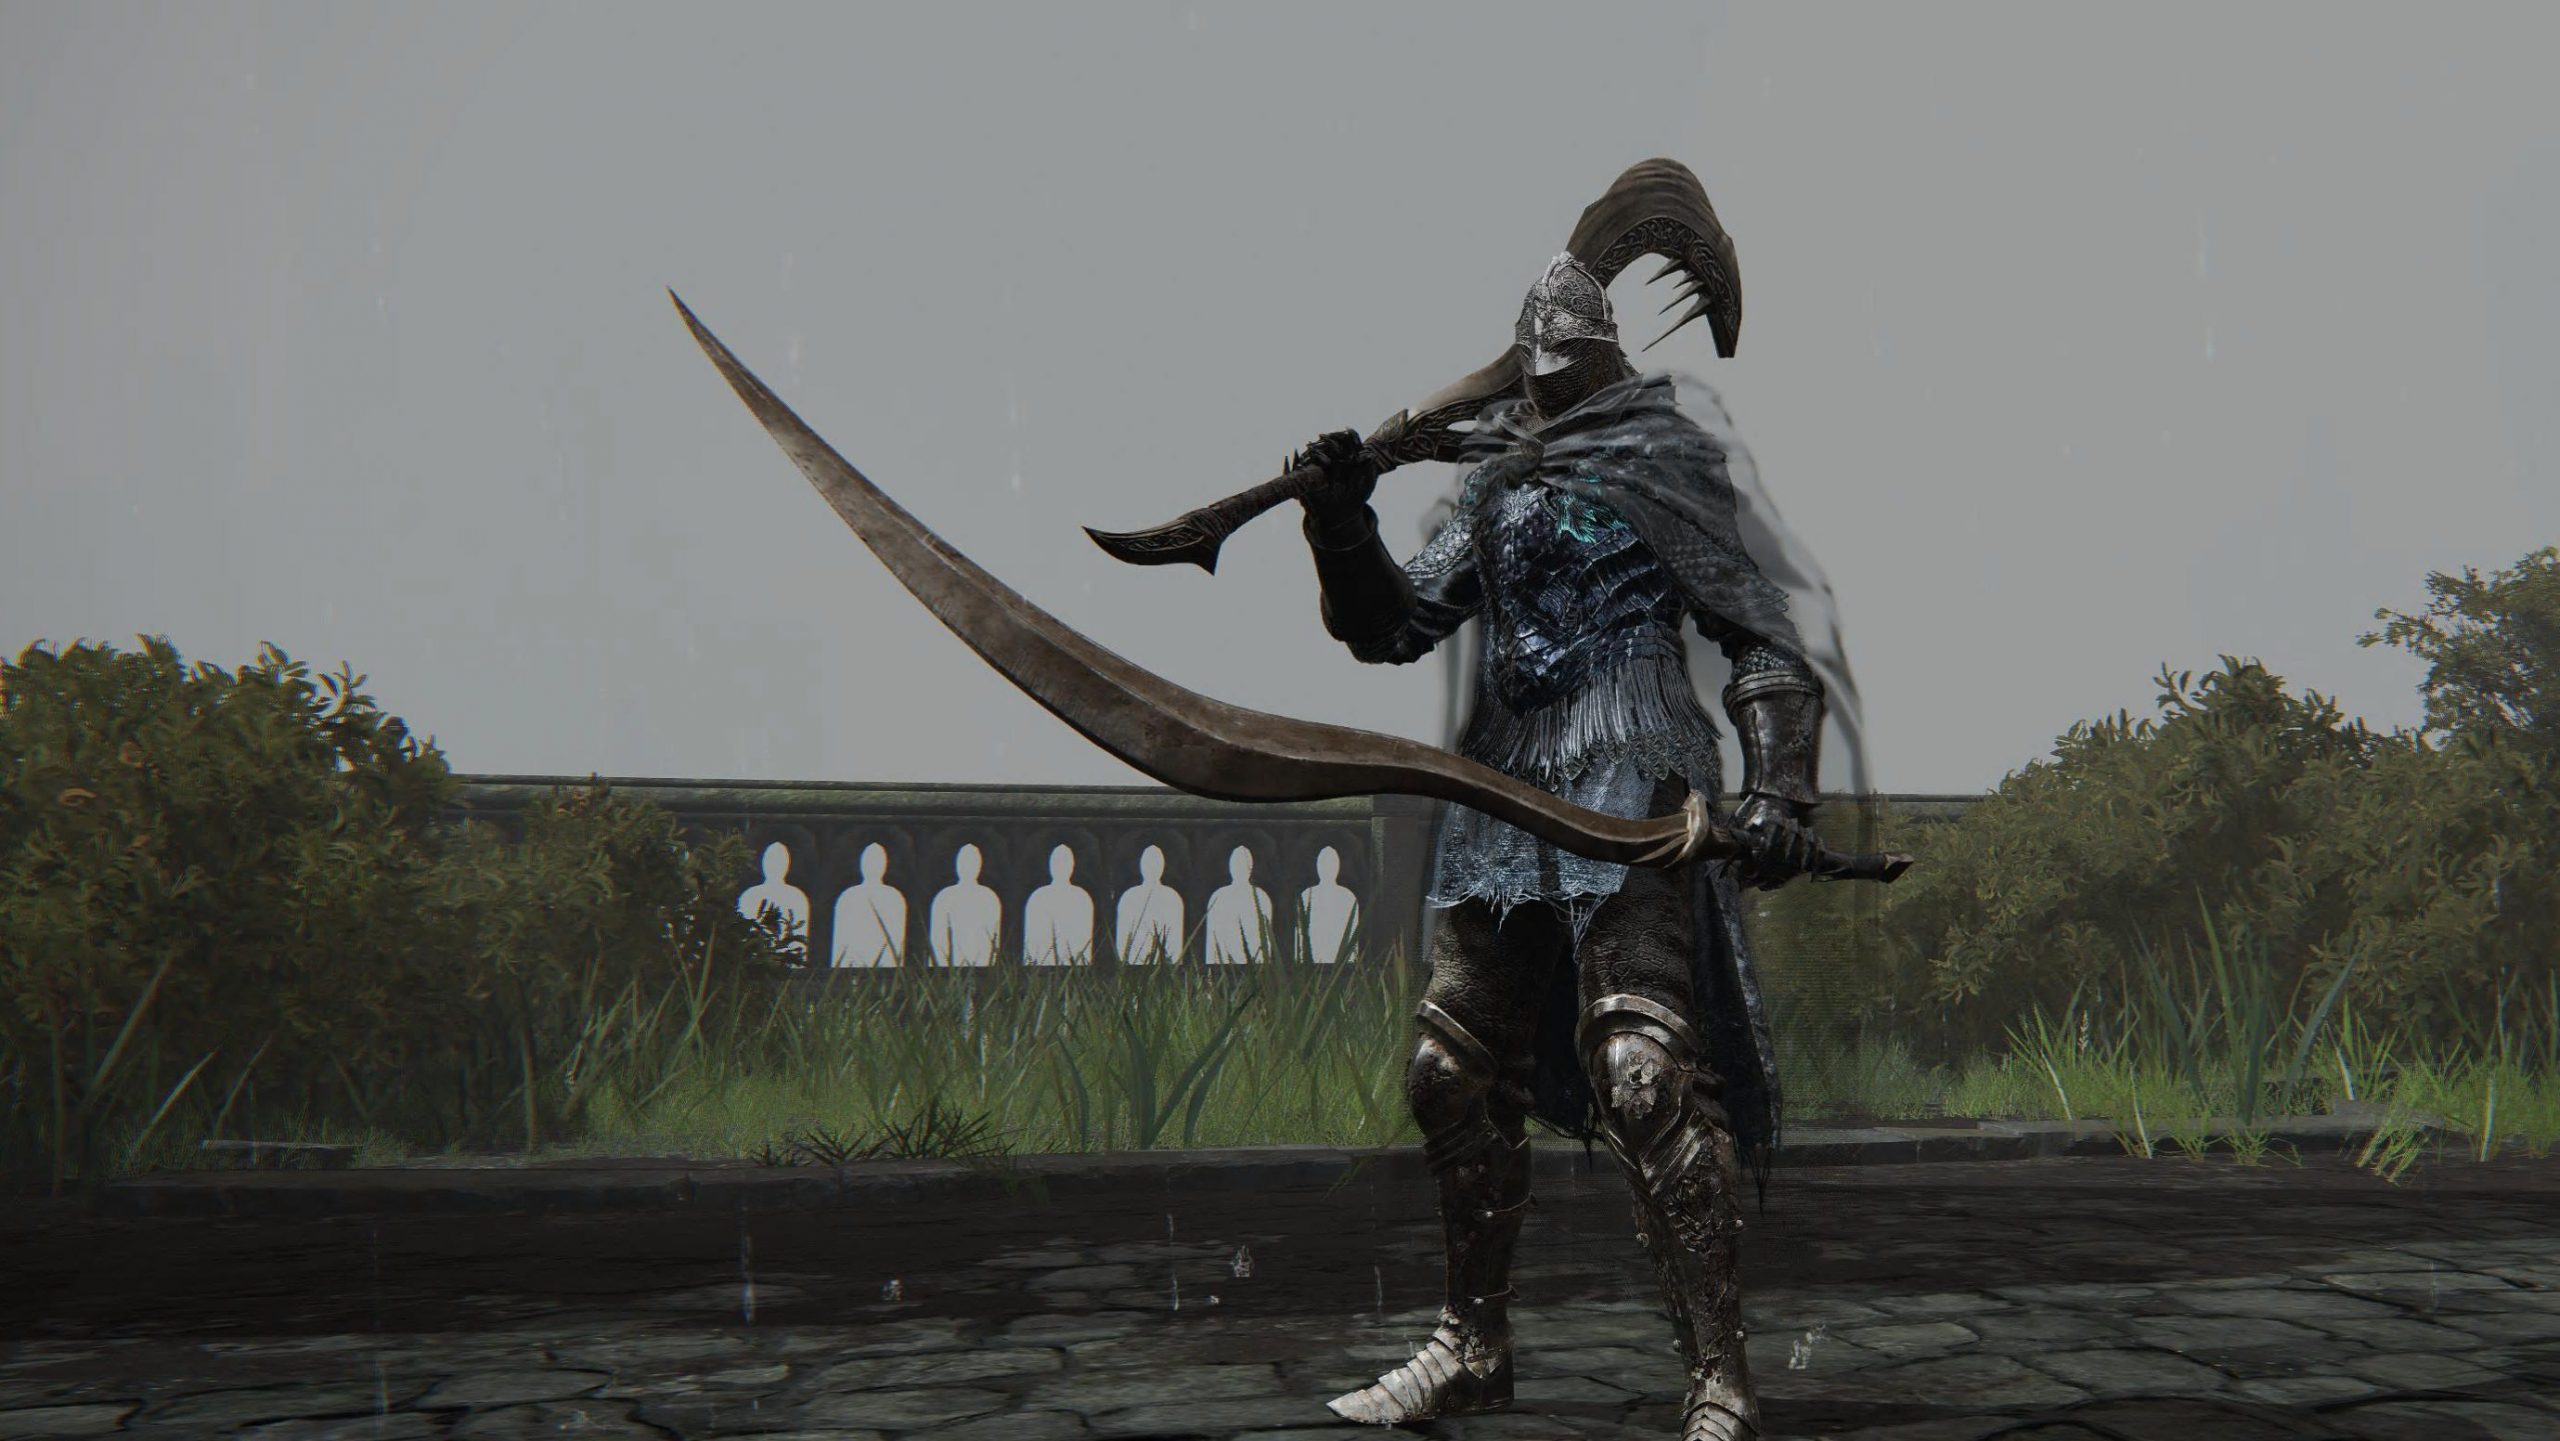
When entering Farum Azula the endgame boss rush begins as always. Godskin Duo, Draconic Tree Sentinel, Maliketh, Gideon, Godfrey/Hoarah Loux, Radabeast. None of it moved the build an inch. The loadout was done, so every rune went straight into stats and the rest was just showing up.
The Final Build Distilled
A few words on the Physick and the Talismans. Magic-Shrouding Cracked Tear plus Thorny Cracked Tear is the greediest setup on the board – not risky exactly, just completely without a safety net. You get no stamina help and no extra negation, so every point of it is riding on you landing hits.
Keep in mind what that Magic-Shrouding Cracked Tear is actually paying for: only Zamor Ice Storm. Your light attacks are pure physical and see nothing from it. If you’re planning to lean on R1 and L1 strings rather than the skill, that slot is dead weight. You can always swap in the Greenburst Crystal Tear for faster stamina regen or the Opaline Hardtear to increase damage negation.
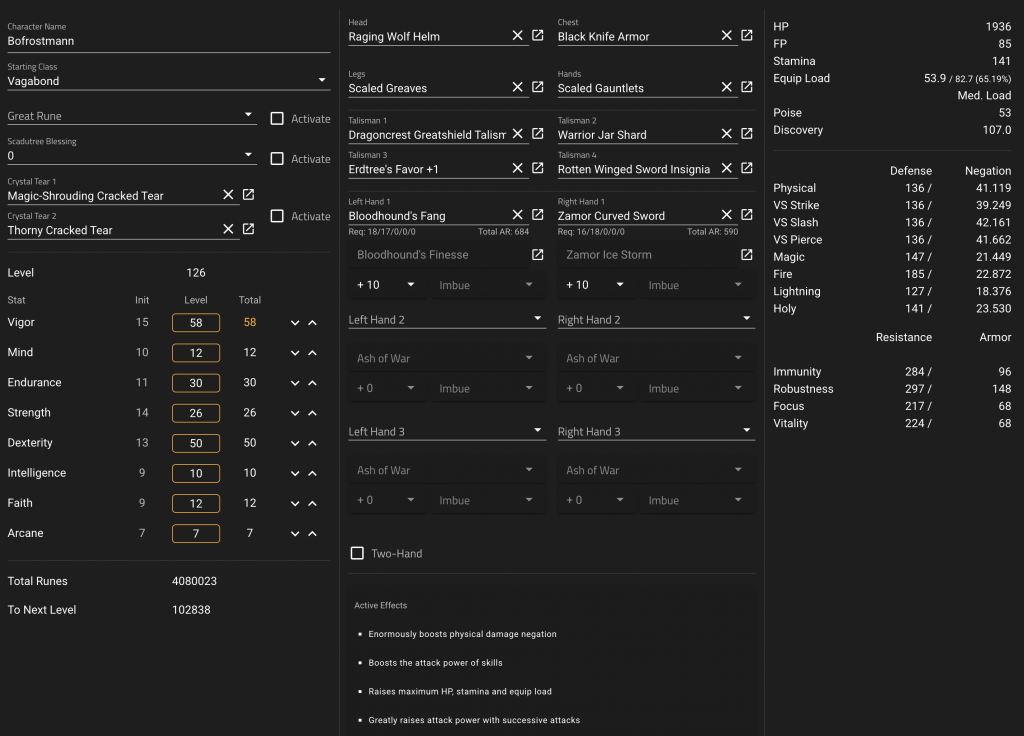
I slotted the Dragoncrest Greatshield Talisman in for some more damage negation and the Warrior Jar Shard to buff the weapon skill (use Shard of Alexander instead, if you’ve got one). To avoid heavy rolling I added the Erdtree’s Favor +1, which also hands you extra HP and stamina on top of the equip load, and the Rotten Winged Sword Insignia to get more out of the multiple hits that come with power stancing the two Curved Greatswords. Those last two work the same street, which is the point. Thorny ramps your attack power the longer you keep swinging, the Insignia does the same on consecutive hits, and power-stancing two Curved Greatswords generates exactly the kind of uninterrupted L1 strings both of them are looking for. Stop attacking and they both bleed back down.
You can also think about using the Ritual Sword Talisman as a replacement for the Dragoncrest Greatshield Talisman if you’re already satisfied with your damage negation – as long as you’re comfortable losing the bonus the moment your health bar moves.
The Magic Scorpion Charm is the last one worth mentioning, and it’s a trap in a specific way. Zamor Ice Storm is pure magic damage, so the Charm’s 12% does apply to it – but the 10% extra physical damage you take applies constantly, and you’re a melee character standing inside boss combos. You’re buying a bonus on a skill you cast occasionally and paying for it on every hit you eat. If you’ve got the Shard of Alexander, keep it; a straight 15% on your skills with no penalty attached wins that trade every time.
Final Words
I had set out to answer the question of whether the Icerind Hatchet still gives you the shiver of the early days, and I’ve already given you my takeaway, but let me sum it up again:
The Icerind Hatchet is still a great supporting act, as long as you go double axe. In the early game Hoarfrost Stomp does its work and freezes everything, but on a lower level than in the early days. When the bosses get tougher, pair it with a second axe and move it to the off-hand, where it is a helpful sidekick. Unfortunately there is no such thing as the Moonveil Redemption, that came with Rellana’s Cameo from the DLC, for the Icerind Hatchet.
What I learned from this run is how overpowered the Warped Axe is! There are ways to get even more out of it than I did in this cold run, and maybe that’s another casual run to put on my increasingly long list. I’d definitely advise you to check out that weapon in one of your runs to build your own opinion. During the run I used Hoarfrost Stomp, Cragblade, Wild Strikes and Spinning Weapon, all in cold affinity, on the Warped Axe. It surprised me how well each of them held up in its own lane.
The Zamor Curved Sword gets the final praise. It’s one of the most satisfying weapons I’ve picked up in a while. A skill that does real work, a light-attack chain nothing else in the game has, frost built into every swing, and no Intelligence tax on a Dexterity build. The multi-hit chain chews through poise, the skill procs frostbite almost on contact, and you get hyper-armor while the cast animation winds up. If fast melee and crowd control are what you’re after, this thing delivers – and I really wonder why I haven’t done a full NG+ run with it in the past.
Have you done a similar progression run or used any of the weapons on a full run? Tell me what you experienced in the comments below.
I had a lot of fun with this run and gained some more Elden Ring wisdom – what else can you ask for? Oh, I nearly forgot: the DLC still awaits this double Curved Greatsword combination for a dance…
May your journey be guided by Grace (and frost), fellow Tarnished.
Leave a Reply