
One Dexterity level is the entire cost of entry to a Great Katana build. A fresh Samurai clears the Strength requirement outright and sits a single point short on Dexterity. The weapon is lying on a hill in Caelid, unguarded, ten minutes into a new game.
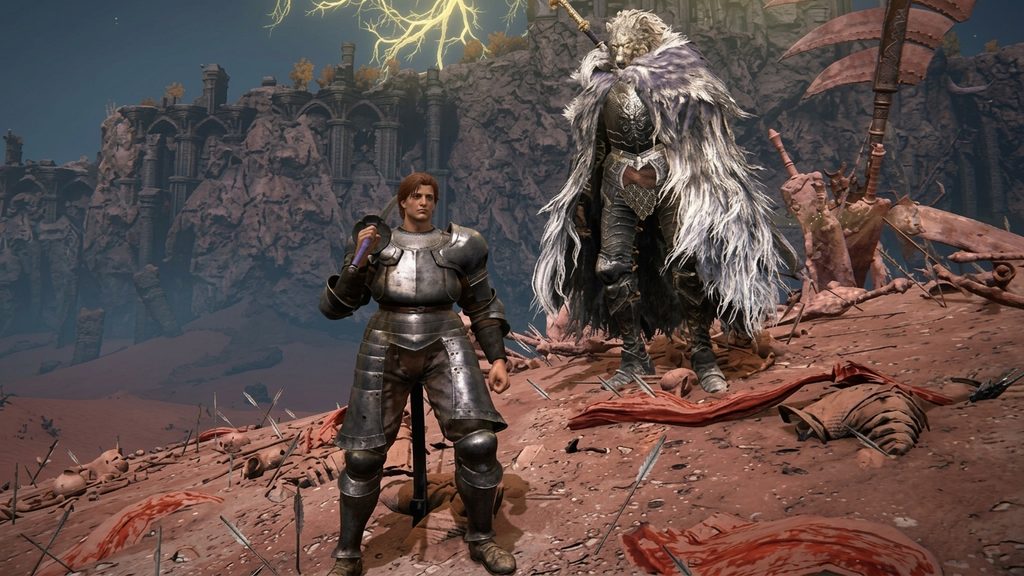
Getting to that hill is the awkward part. It sits in Greyoll’s Dragonbarrow, a region the game expects you to reach many hours from now, and nothing about the trip is safe. It is short, though, and you come back with a bleed weapon, a legendary talisman and half a lift key before you have fought a single boss.
What follows is the shopping list rather than a full walkthrough. Where each piece is, why it’s in the build, and what it costs you:
Getting Into Caelid Without Earning It
The Dragon-Burnt Ruins sit half-drowned in the lake in western Limgrave. Underneath them is a chest, and the chest is a transporter trap. Open it and you wake up in the Sellia Crystal Tunnel, a mining dungeon deep in Caelid, at a point in the game where you have no business being there.
Walk out of the tunnel without fighting what lives at the bottom of it, then mount Torrent and go around Sellia, Town of Sorcery rather than through it. The Fort Faroth Site of Grace is the target, and nothing between you and it has to die.
That whole sequence is easier to watch than to read. This clip from pepeJack runs through the chest, the line past Sellia (and what’s waiting for you at the fort).
Fort Faroth Pays Twice
Two things inside, and you want both.
Head in through the main entrance and cross the dark room full of bats and winged dames. At the far wall there’s a ladder up to the top of the tower and a chest at the top holding the Dectus Medallion (Right). That one isn’t a build piece, it’s the eastern half of the key to the Grand Lift of Dectus, and since you’re already standing on top of it, take it.
Radagon’s Soreseal is the reason you came. From the tower, drop onto the main roof, skip the first square opening in the floor and go down through the second. Follow the wooden platform around, past the rat, and drop to the hay-covered floor below. The corpse is in that room.
What it does: +5 to Vigor, Endurance, Strength and Dexterity, at the cost of taking 15% more damage from everything.
You are wearing it especially for the Endurance. Five points of Endurance this early is a large amount of equipment load, and equipment load is the only thing standing between you and the plate armor two sections down. The additional five points in Strength, Dexterity and Vigor are very welcome, but they aren’t what the build is buying early in the game.
The 15% is real and you will feel it. You get five points of Vigor back in the same breath, which covers the trade for a long stretch of the early game and stops covering it later.
The Katana Is a Ride From the Grace
Stand with Fort Faroth at your back. Elder Dragon Greyoll is the enormous shape lying on the ground ahead of you, and the hill you want is the one immediately to her right – a pale, skull-shaped mound rising out of the dirt. Ride to it, climb it on Torrent, and loot the corpse sitting at the top.
Greyoll does not move. She will not move if you hit her. There is no boss here, no fog wall, and no prerequisite. The Reed Great Katana is simply lying on the ground in a place the game assumes you can’t reach yet.
What you’re picking up:
- Strength 11, Dexterity 16
- 158 base physical damage, D scaling in both Strength and Dexterity
- 10.0 weight
- Slash and Pierce damage
- 55 blood loss buildup
- Overhead Stance as its default skill
- Upgrades on standard Smithing Stones
Until the Tarnished Pack, every Great Katana in the game lived in the Realm of Shadow. This one turns up in the Lands Between, and its requirements are why that matters. Its DLC counterpart asks for Strength 14 and Dexterity 18, and sits behind Mohg. The Reed asks for 11 and 16, and sits on a hill you can ride to on a fresh save.
It scales worse, reaches slightly shorter and weighs a point more, but it starts higher – 158 base physical against 145. Early on, with your Strength where it is, base damage is most of what you’re swinging and scaling barely registers.
Two Pieces of Steel, Fifty-Four Poise
The armor comes from the Isolated Merchant, whose shack sits at the far western edge of the Weeping Peninsula, south of the Fourth Church of Marika and the Witchbane Ruins, out past the walking mausoleum toward the coast.
He sells the Steel set, which is the Heavy Knight’s starting armor and new to the Tarnished Pack. Helm, Gauntlets and Greaves are 1,000 runes each, the chest is 1,500. Buy all four – you’ll want the full set once your Endurance catches up – but do not wear all four.
| Piece | Weight | Poise |
|---|---|---|
| Steel Helm | 7.9 | 13 |
| Steel Armor | 18.5 | 35 |
| Steel Gauntlets | 6.1 | 10 |
| Steel Greaves | 11.3 | 19 |
The complete set is 43.8 weight for 77 poise, and medium rolling in it takes around 30 Endurance. That is not a conversation you’re having at level 9.
Wear the chest and the greaves. That’s 29.8 weight for 54 poise, which clears the 51 threshold with a few points to spare. The obvious-looking alternative is chest and helm, which is lighter and lands at 48 – three poise short, and therefore no better than wearing nothing at all for poise purposes. Poise in this game is a breakpoint, not a slider.
Fifty-one poise means you eat a hit from most standard enemy attacks and keep swinging. On a weapon this slow, that is not a luxury.
Add the katana at 10.0 and you’re carrying 39.8. Medium roll means staying under 70% of your maximum equipment load, which works out to 17 Endurance. A Samurai starts at 13. The Soreseal covers the difference, which is why the talisman is not optional here.
You medium roll in plate armor without spending a single rune on Endurance. That’s the entire structural trick of this build this early into a new game.
Wild Strikes in Heavy Affinity
Take the road from the Stormhill Shack grace toward Castleward Tunnel and watch the path for a teardrop scarab. It drops Ash of War: Wild Strikes, and the Great Katana class accepts it.
Applying it converts the weapon to Heavy affinity, and that conversion is the reason it’s in the build rather than a price you pay for the skill.
Heavy scaling runs off Strength and nothing else. That leaves this build with three stats worth a rune: Strength for damage, Vigor for staying alive, and Endurance later on, once you want to retire the Soreseal and carry the armor on your own legs. Nothing else on the sheet ever needs touching. The DLC Great Katana reaches B in Strength on a maxed Heavy infusion and Reed lands there too.
What you get is a skill that takes humanoid enemies apart. Wild Strikes is a flurry, and against anything that staggers – knights, soldiers, invaders, you name it – it never gives them a turn. Put the right talismans behind it and the katana stops being an early-game compromise and starts shredding.
The obvious objection is that this isn’t how you build a weapon carrying 55 native bleed. The usual answer is a Blood or Occult infusion with Arcane behind it, and that’s the build this one is actually competing against. It hits harder per swing. It also asks you to fund a fourth attribute, and it leans on a status that several of the fights you most want help with shrug off entirely. Heavy asks for Strength and hands you a skill that works on anything with legs.
Mostly, though, I wanted to run something other than the version everybody has already written up, and it turned out far more fun than it had any right to be.
Where the Runes Go
First they have to come from somewhere, and at this stage of a new game there is a worthwhile source.
North of Lenne’s Rise, after dark, a Night’s Cavalry patrols the road on horseback. You are not beating that in a fair fight at level 9 and you don’t need to – there’s a drop beside the road it will ride straight off if you bait it correctly. Time a Gold-Pickled Fowl Foot so the buff is live when the runes land, which means eating it while the thing is already falling rather than before you start.
The kill is worth roughly 42,000 runes on its own, and the Fowl Foot’s 30% bonus takes that to somewhere near 54,000. That’s the budget. Here’s where it goes.
Dexterity: one level, 15 to 16. That’s the entry fee, and it’s the only rune you spend on anything except health.
You could technically skip even that, since the Soreseal’s +5 pushes you to 20 Dexterity on its own and requirements read the boosted number. Don’t. Meeting the requirement with your own stat line means the talisman stays a choice rather than a dependency, and you will want to take it off eventually.
Endurance: nothing. The Soreseal is doing that job.
Vigor: all of it.
Four and a half thousand of those runes go on the Steel set, so call the leveling budget 50,000. That carries a Samurai from level 9 to 28. One of the nineteen levels went into Dexterity. The other eighteen go into Vigor and nothing else, taking you from the Samurai’s starting 12 to 30 – and the Soreseal reads that as 35.
Thirty-five effective Vigor, fifty-four poise, plate armor, and a bleed weapon that upgrades on regular Smithing Stones. None of it required beating anything.
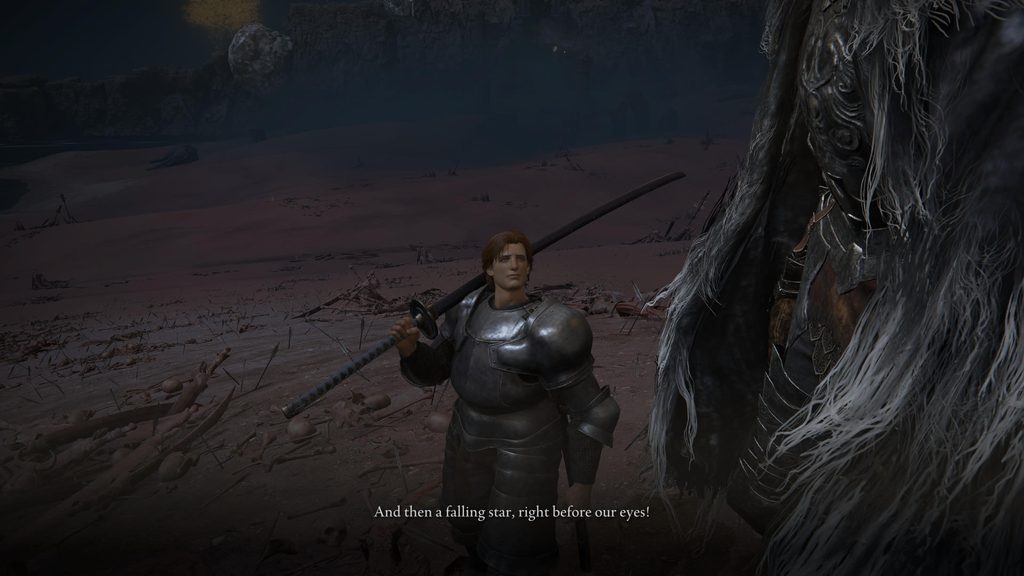
Talisman Progression
The Soreseal is your first talisman and, for a good while, the only one doing real work. It’s also the one you’re working to get rid of. Start dropping a level into Endurance roughly every fifth time you level, and by the late game you’ll be carrying the Steel set on your own numbers instead of borrowing them.
Slot two opens after Margit. The Warrior Jar Shard adds 10% to skill damage, which means 10% on every Wild Strikes you throw. It drops from Iron Fist Alexander the moment you kill him, and the first place you can do that is a hillside in northern Stormhill near Saintsbridge, close enough to the scarab you already walked out to find. If you lean on the charged heavy more than the skill, take the Axe Talisman instead.
Slot three unlocks once two Shardbearers are down, which usually means some pair out of Godrick, Rennala and Radahn. Fill it with the Winged Sword Insignia, dropped by the Cleanrot Knight at the bottom of Stillwater Cave. It raises your attack power the longer you keep landing hits, which is a description of what Wild Strikes does.
Slot four arrives after the Golden Shade of Godfrey in Leyndell, and it goes to Millicent’s Prosthesis. That means running most of Millicent’s questline: hand over the Valkyrie’s Prosthesis, follow her to Dominula, put down the Godskin Apostle, then kill her at the Windmill Heights Site of Grace. Doing that closes off the Rotten Winged Sword Insignia and the Unalloyed Gold Needle for the rest of the run, so make your peace with it before you swing.
The payoff is that the Prosthesis and the Winged Sword Insignia stack. Two successive-attack buffs running at once, on a skill made of nothing but successive attacks. The +5 Dexterity that comes with the Prosthesis does close to nothing on a Heavy infusion, and that’s fine. You’re not wearing it for the Dexterity.
Late game, retire the Soreseal. The 15% you’ve been eating stops being a fair trade once things start hitting for real numbers. Replace it with Erdtree’s Favor +1, sitting in a chest in the boss room of the Subterranean Shunning-Grounds alongside Mohg, the Omen. Margit’s Shackle pins him twice. Wild Strikes handles the rest.
The Physick
Two slots, and unlike the talismans there’s no single right answer here. Treat what follows as a menu.
Open with any two of three. The Strength-knot Crystal Tear adds 10 Strength for three minutes, which on a Heavy infusion converts directly into damage. The Spiked Cracked Tear makes charged attacks hit harder. The Greenspill Crystal Tear raises maximum stamina, which matters more than it sounds like it should on a weapon this heavy.
When you’d rather survive than kill, swap one out for the Opaline Hardtear and its 15% damage negation against everything. It comes off the Putrid Avatar at the Minor Erdtree northeast of Fort Faroth, and I go and kill that thing as early as I can get away with. It pays 91,000 runes on its own, and with a Gold-Pickled Fowl Foot running that lands somewhere near 118,000. The same corpse hands you the Stonebarb Cracked Tear and its 30% stance damage, which is the aggressive answer to the Hardtear’s cautious one.
Late in the run, the Putrid Avatar guarding the Minor Erdtree in the Consecrated Snowfield drops the Thorny Cracked Tear, which raises attack power with successive attacks. Pair it with the Opaline Hardtear for the safe build or the Stonebarb for the greedy one.
Prioritize the Thorny. It stacks with both the Winged Sword Insignia and Millicent’s Prosthesis, which means three successive-attack effects running at once on a skill that consists of nothing but successive attacks.
One last swap worth knowing. If you pick up the Great Turtle Shell and the stamina recovery it gives you, Greenspill and Greenburst both drop out of the conversation and you get two slots back for damage or negation. That’s the principle for this whole section, really: tune the physick last, once you know what your talismans are already covering.
Some Additional Notes From the Field
Pick up the Armorer’s Cookbook [1] from the Kaiden Sellsword camp northeast of the Agheel Lake North grace. It teaches Fire Grease, which is the poor relation of Bloodflame Blade – less damage, no blood loss – but it asks nothing of you, where the incantation wants 12 Faith and 10 Arcane. The ingredients grow all over the ground around the Warmaster’s Shack, so you can build a stack of the stuff for free.
Take the Glintstone Craftsman’s Cookbook [2] too, off a corpse beside the Laskyar Ruins grace in Liurnia. Its only recipe is Freezing Grease, and that’s your answer to anything that shrugs off fire – the Fire Giant, Mohg. No requirements on that one either. The catch is that Freezing Grease needs Rimed Crystal Bud, which barely grows outside Caria Manor and the cold regions, so treat it as a boss-fight item rather than something you slather on daily.
If you’re doing a proper run rather than sprinting the mandatory bosses, think about four levels of Faith. At 12 you can cast Bestial Vitality, and an incantation that trickles health back while you’re still swinging earns those levels faster than almost anything else would. Three more gets you to 15 and Flame, Grant Me Strength, which sits on a corpse behind Fort Gael between two flame chariots. It adds 20% physical damage, 20% fire damage, and faster stamina recovery for thirty seconds.
Last one: put the Golden Vow Ash of War on a spare dagger. It’s the weaker cousin of the incantation, but it doesn’t demand 25 Faith to use, and it stacks multiplicatively with Flame, Grant Me Strength. Two buffs off a single fifteen-point Faith investment, on a weapon heavy enough to make both of them count.
Final Words
Heavy infusion, Wild Strikes, Reed Great Katana. Probably not the strongest thing you can do with this weapon, and I haven’t sat down with the full numbers to argue otherwise. What I can tell you is that I cruised through the base game on it, and that Wild Strikes does an absurd amount of work.
The idea was to take one of the new weapons, pair it with new armor, and find out whether a coherent build fell out of the combination. It did, and then some.
If you run it, tell me how it went in the comments. Did you enjoy it as much as I did?
That’s it from me. Now go and start a new character.
Leave a Reply